Repairing a Dead Switch on the Kinesis Advantage
I recently bought a used Kinesis Advantage from EBay. Unfortunately, the keyboard came with a dead tilde key. I emailed Kinesis Support, who told me the following:
1). You can send us the keyboard and we can repair it for you. No cost if the keyboard is under warranty. Outside of warranty $40 + return shipping.
2). Since the problem is isolated to a single key on the left side of the keyboard, then we can send you a replacement right keywell (right side of keyboard with alpha/numeric keys) for $30 + shipping (or free if under warranty) and you can swap it out yourself . Only a screwdriver is required and step-by-step instructions are provided.
3). If you’re handy with a soldering iron, I can send you a few replacement key switches free of cost and you can swap out the bad key yourself, which as far as soldering goes is fairly simple, however I obviously wouldn’t recommend this if you don’t have experience soldering.
Since the keyboard was no longer under warranty, I figured I’d give the third option a shot. Kinesis mailed me three switches for free (which was very surprising and very nice), and I crossed my fingers and hoped I wouldn’t break anything. The repair turned out to be relatively straightforward, but because I couldn’t find much online about other peoples’ experiences doing this, I thought I’d post pictures of what I did.
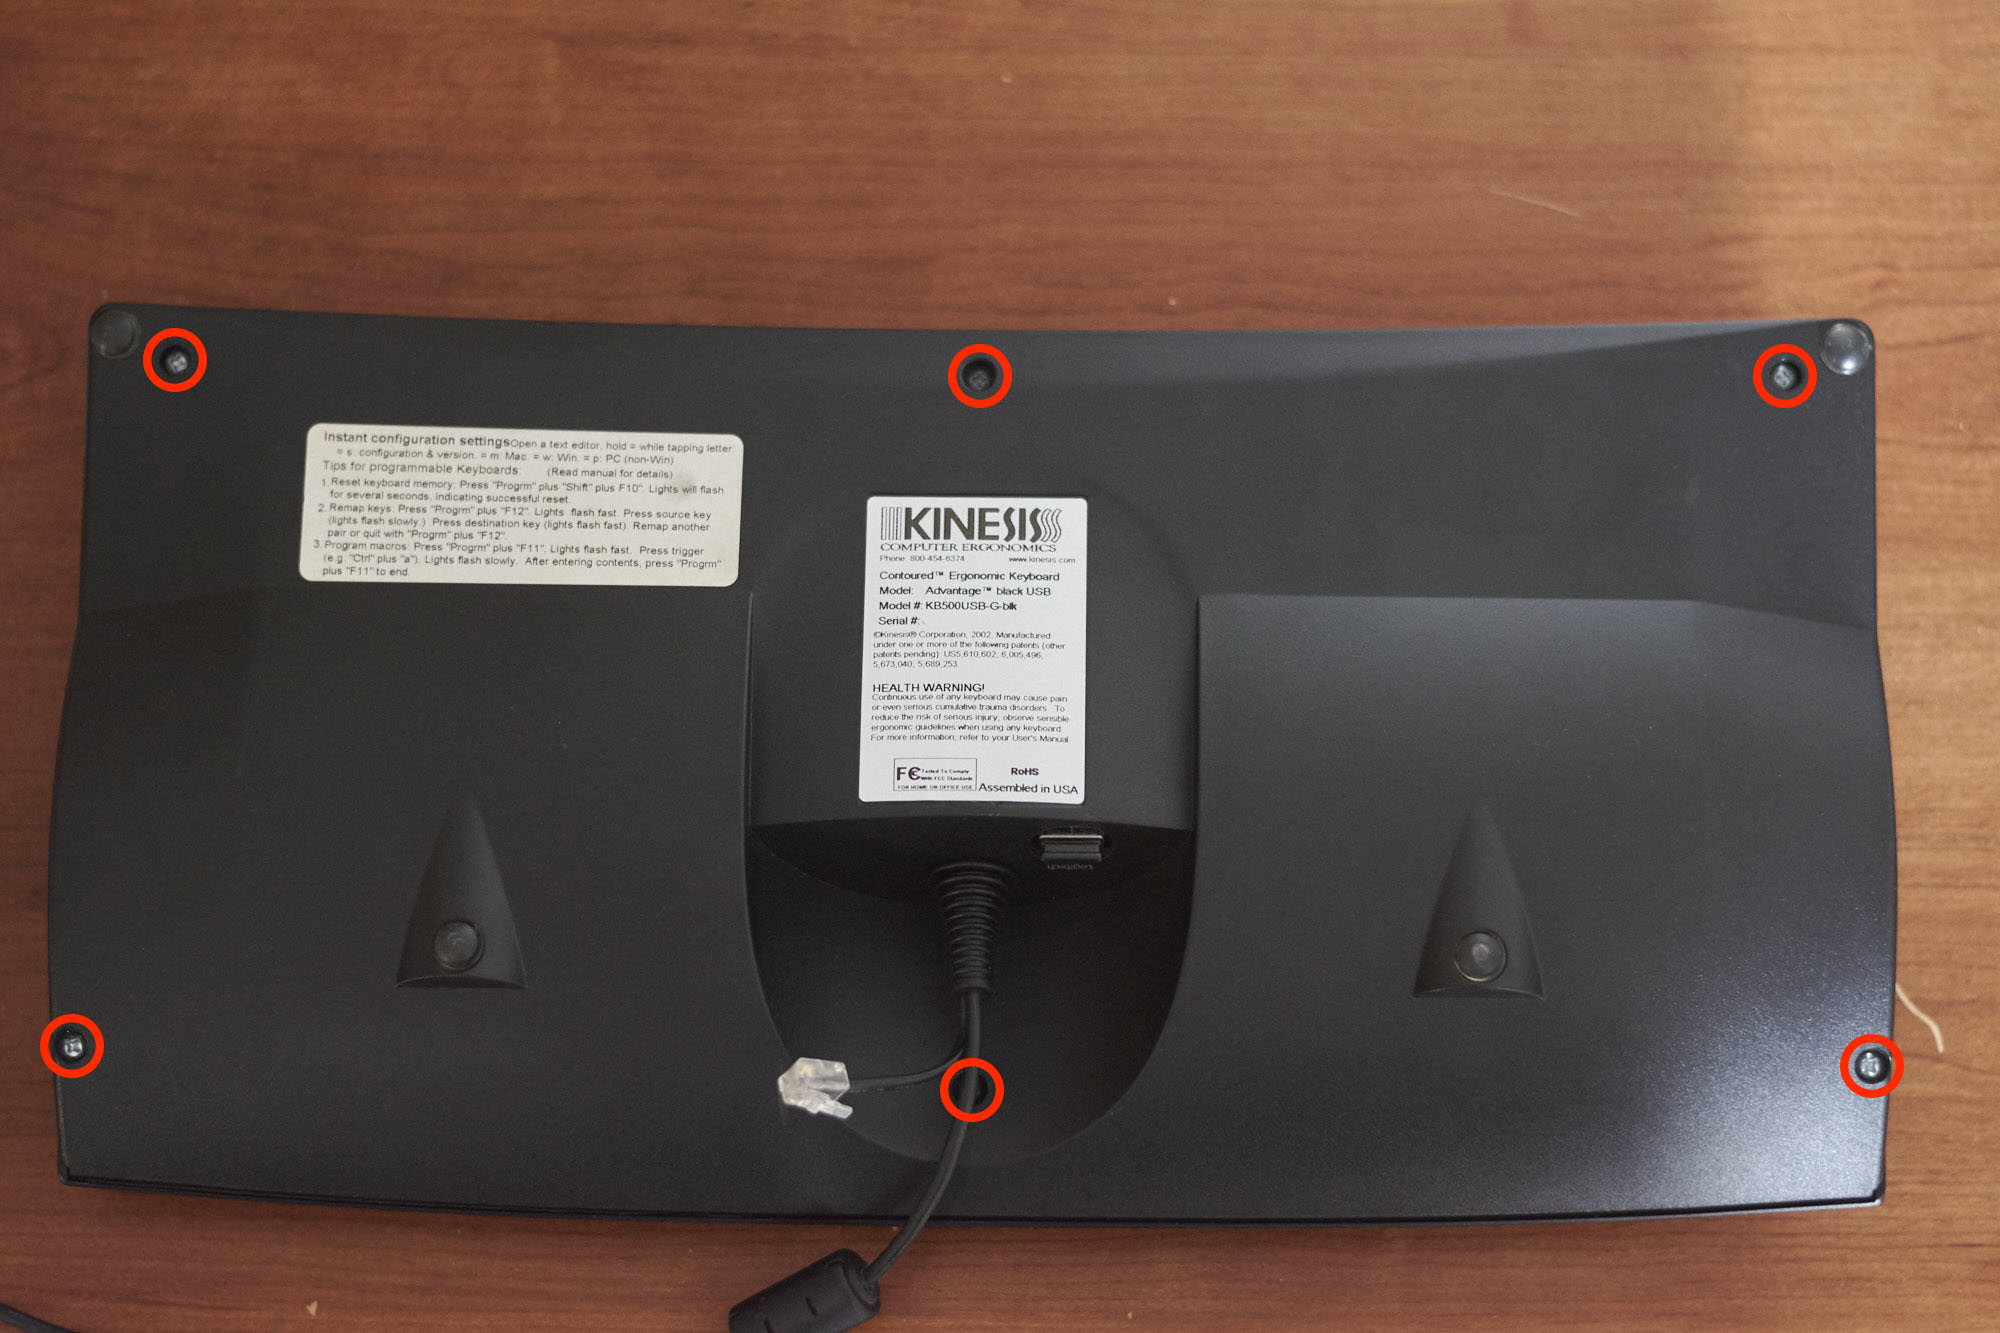
There are six easy-to-remove screws on the back of the keyboard. I appreciated that there were no screws under the rubber feet or under single-use tape.
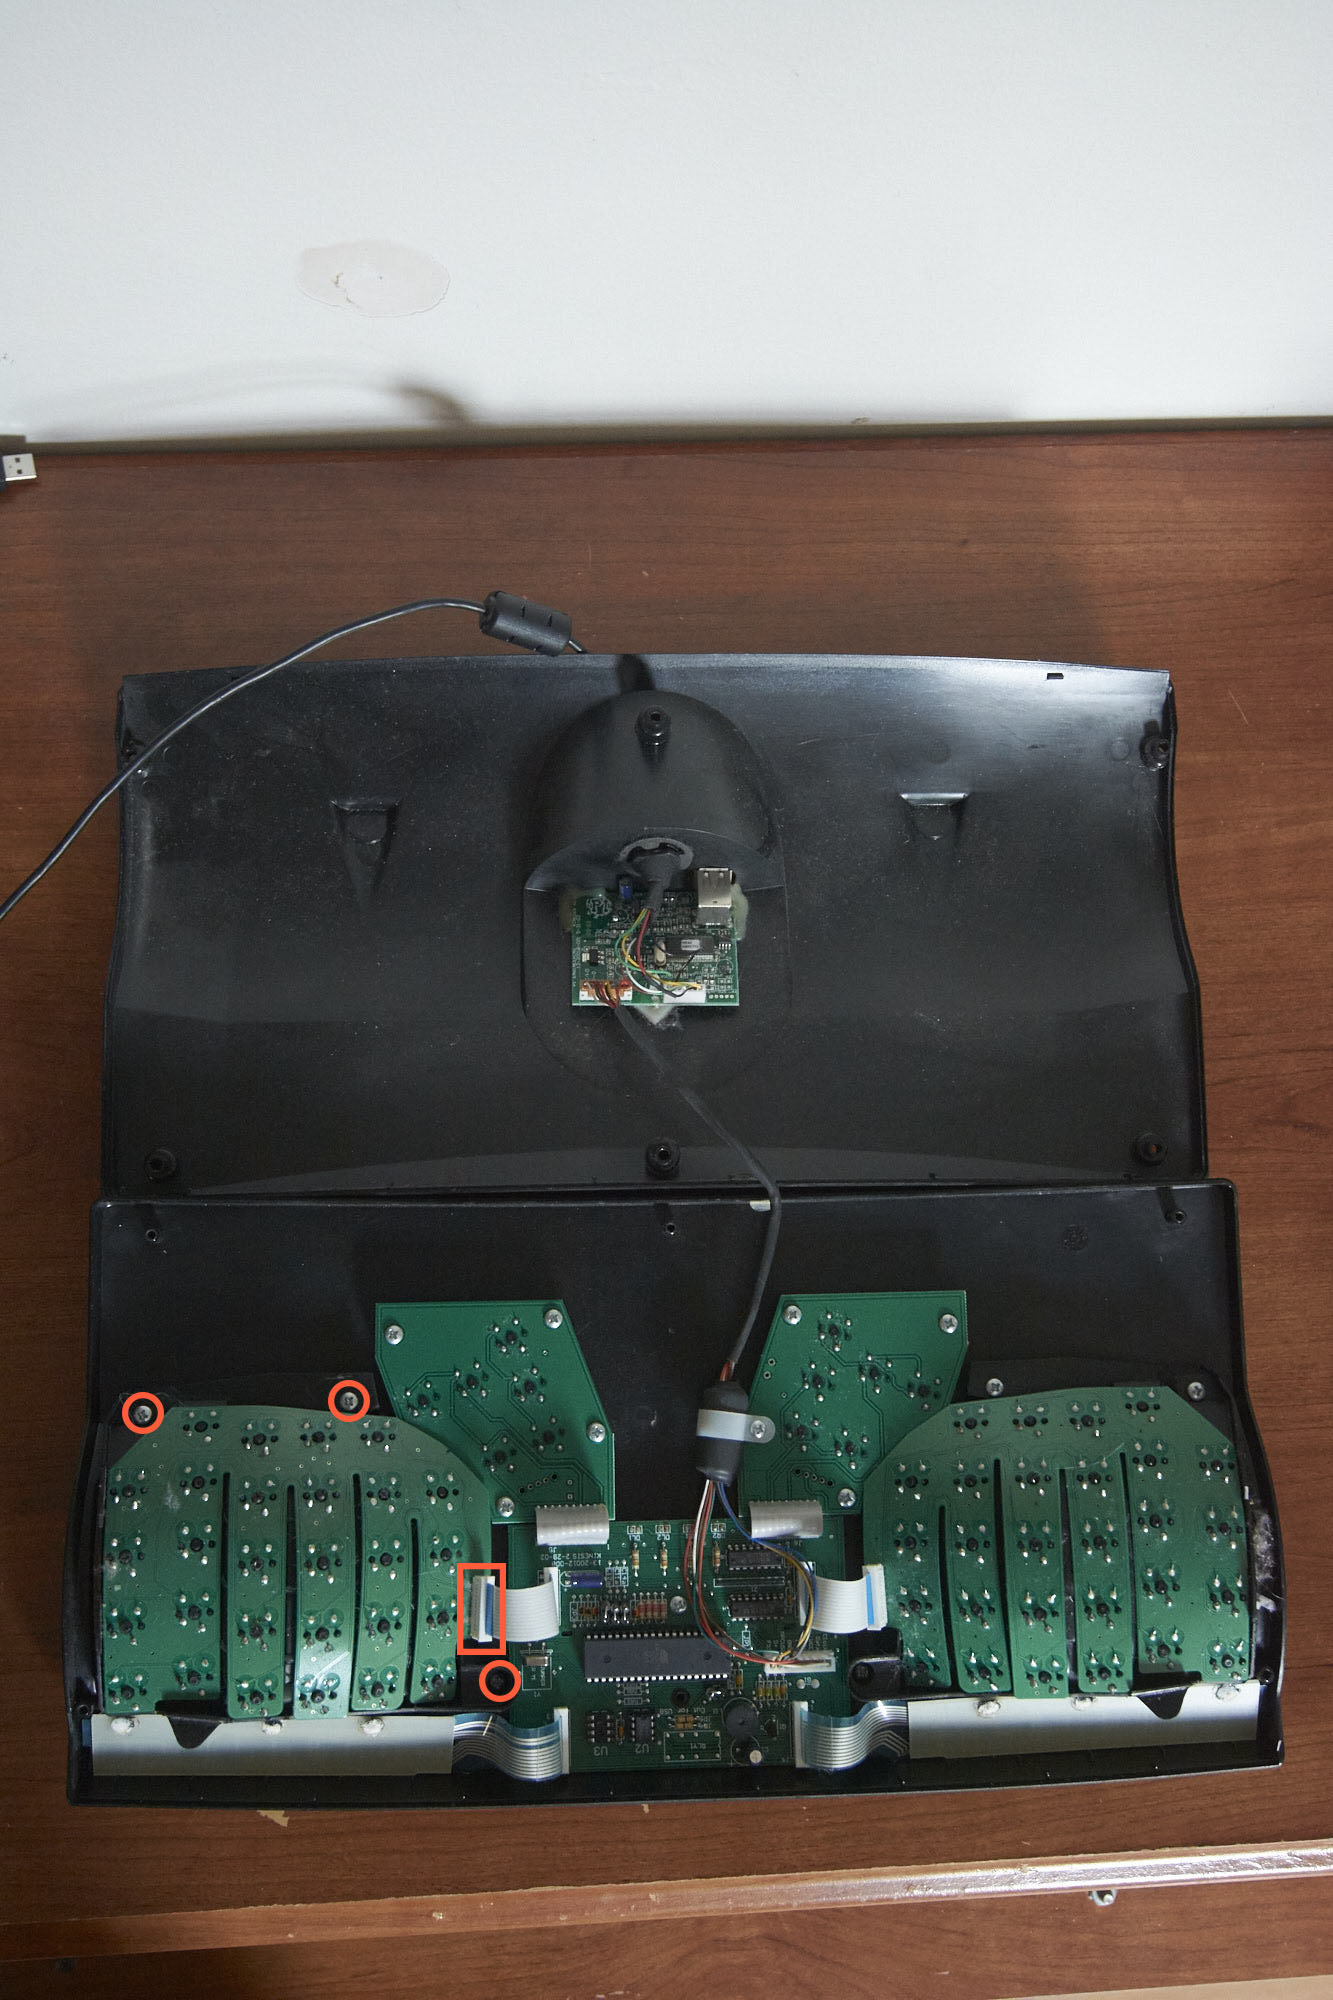
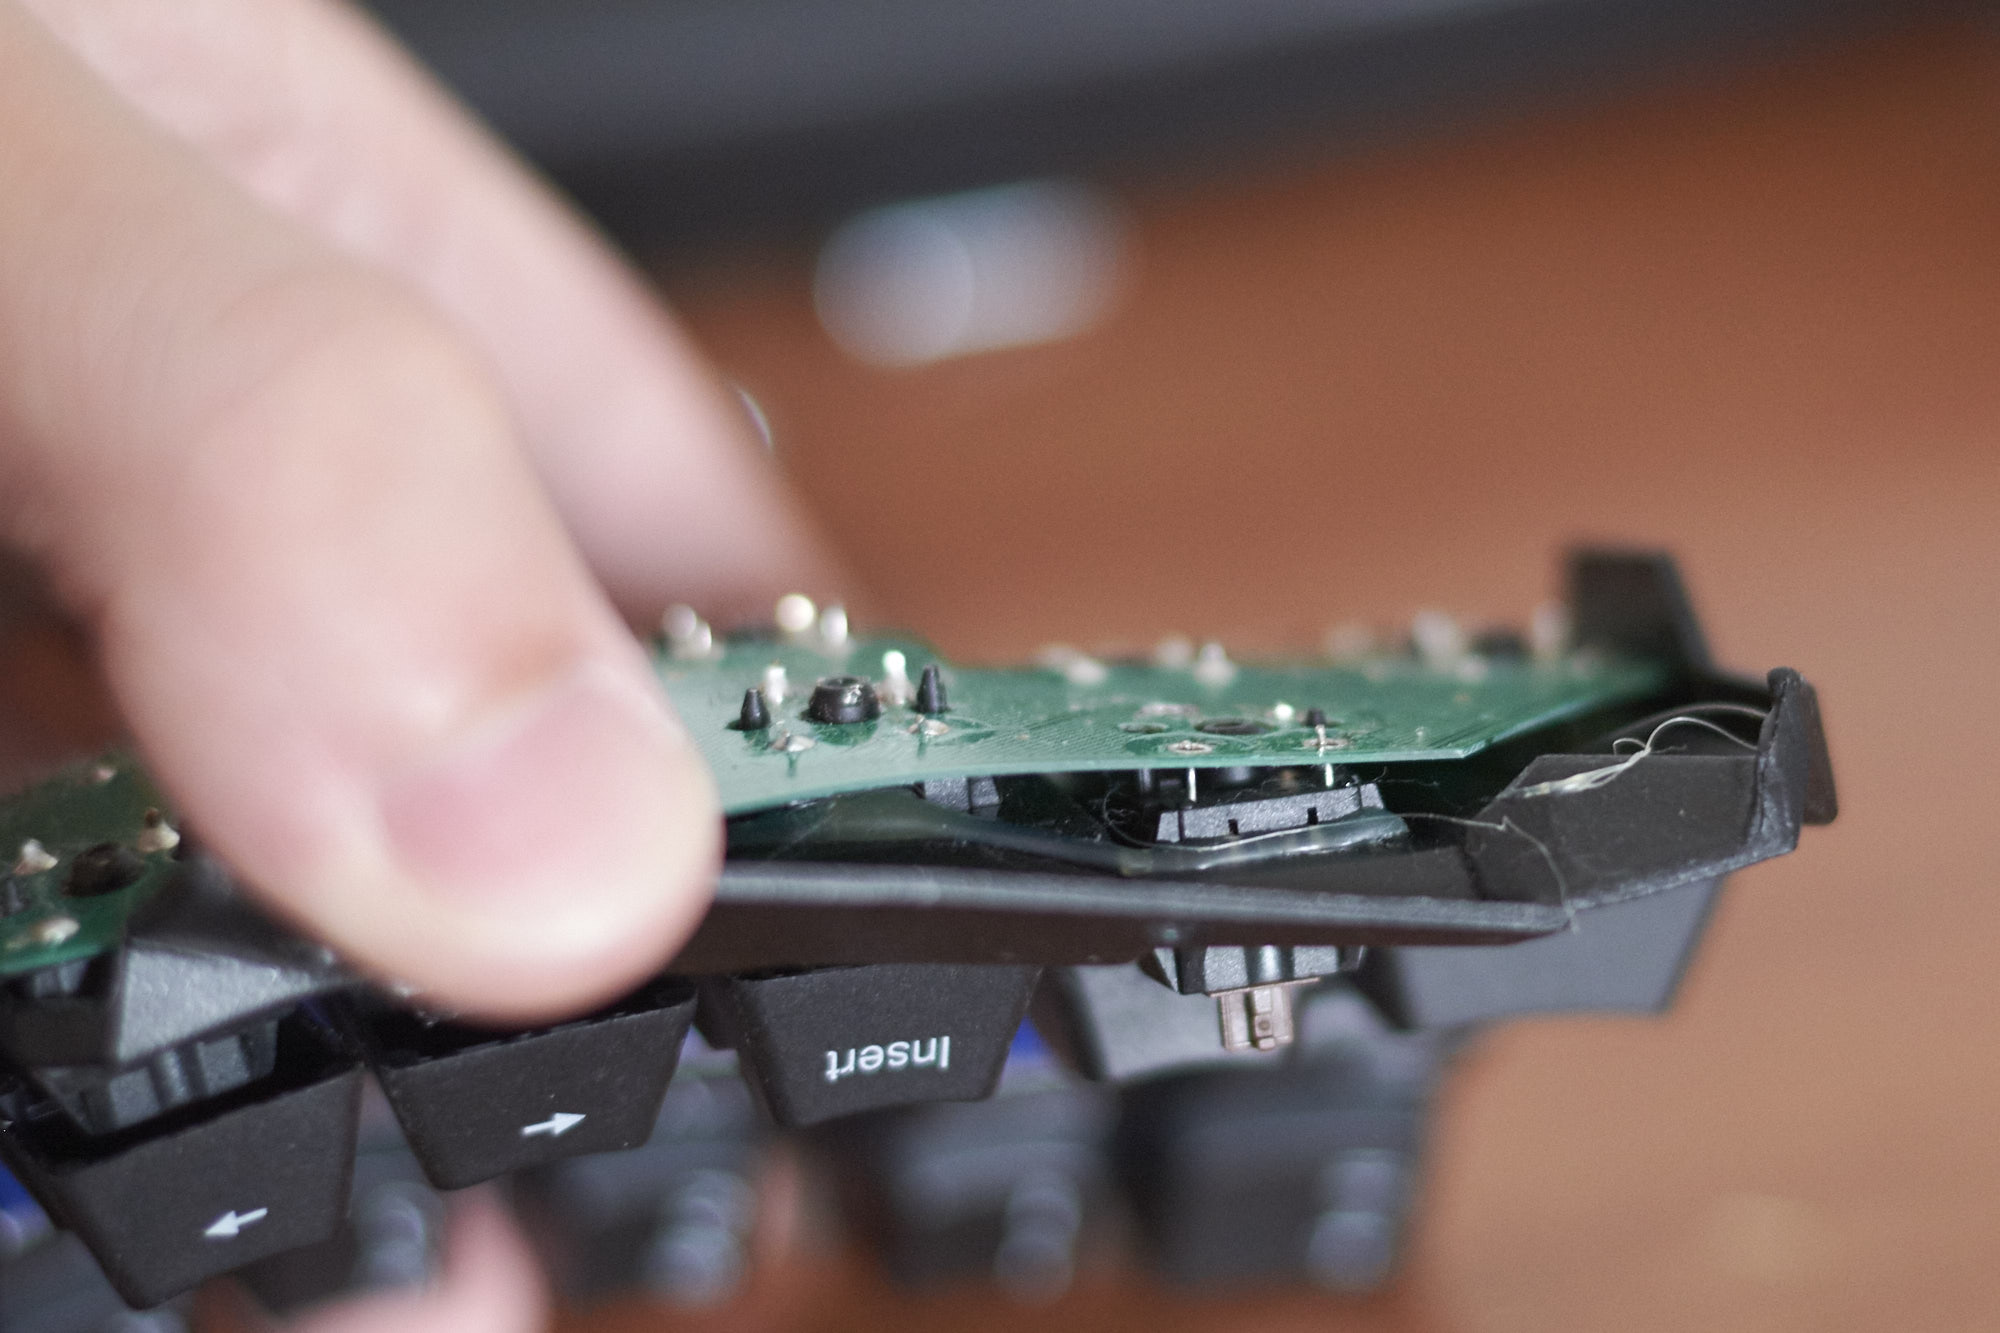
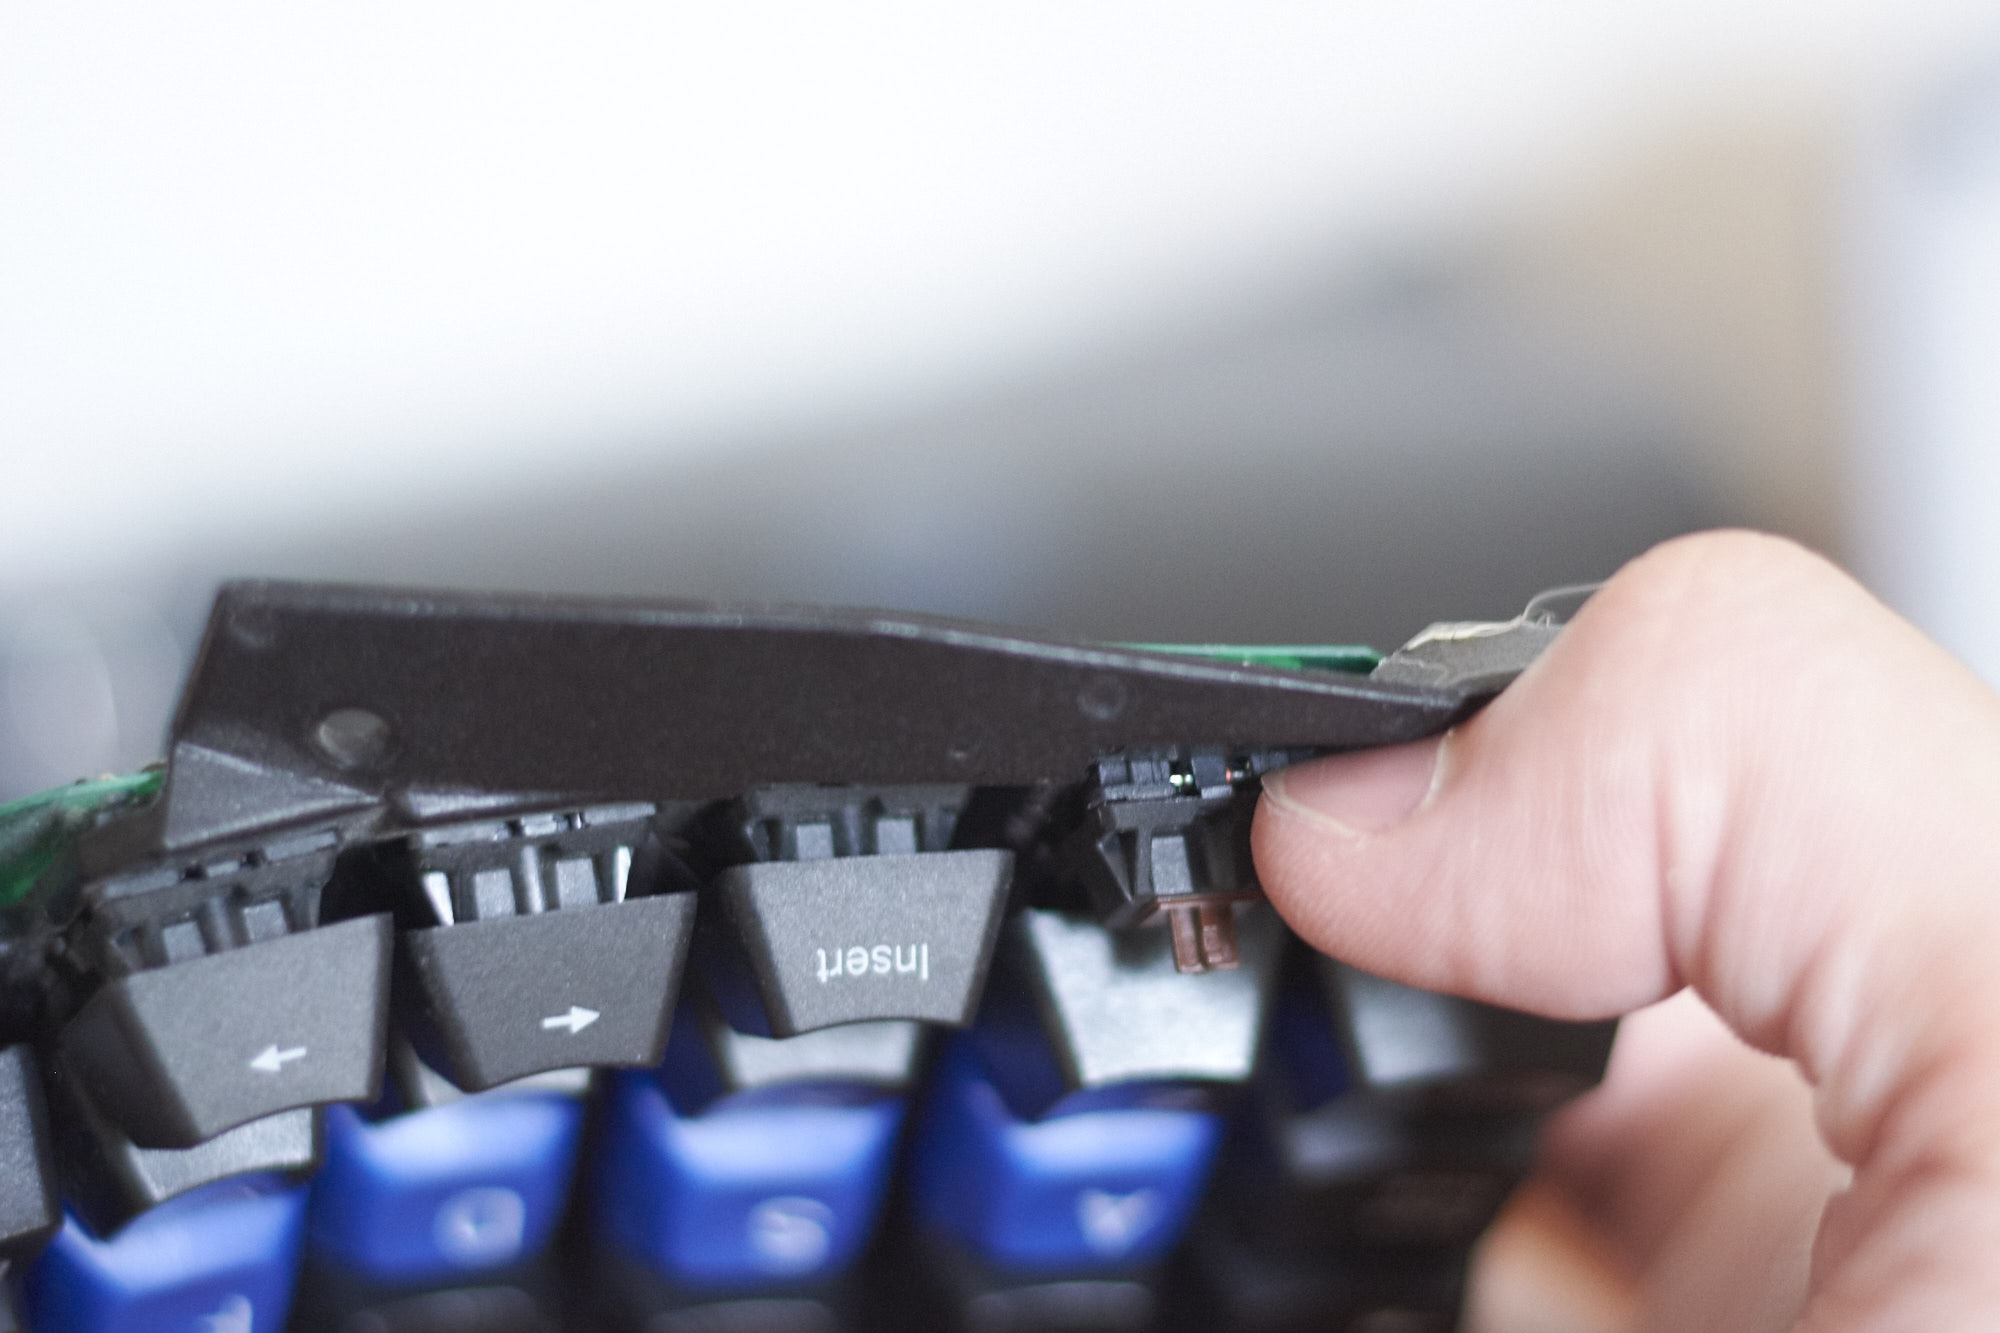
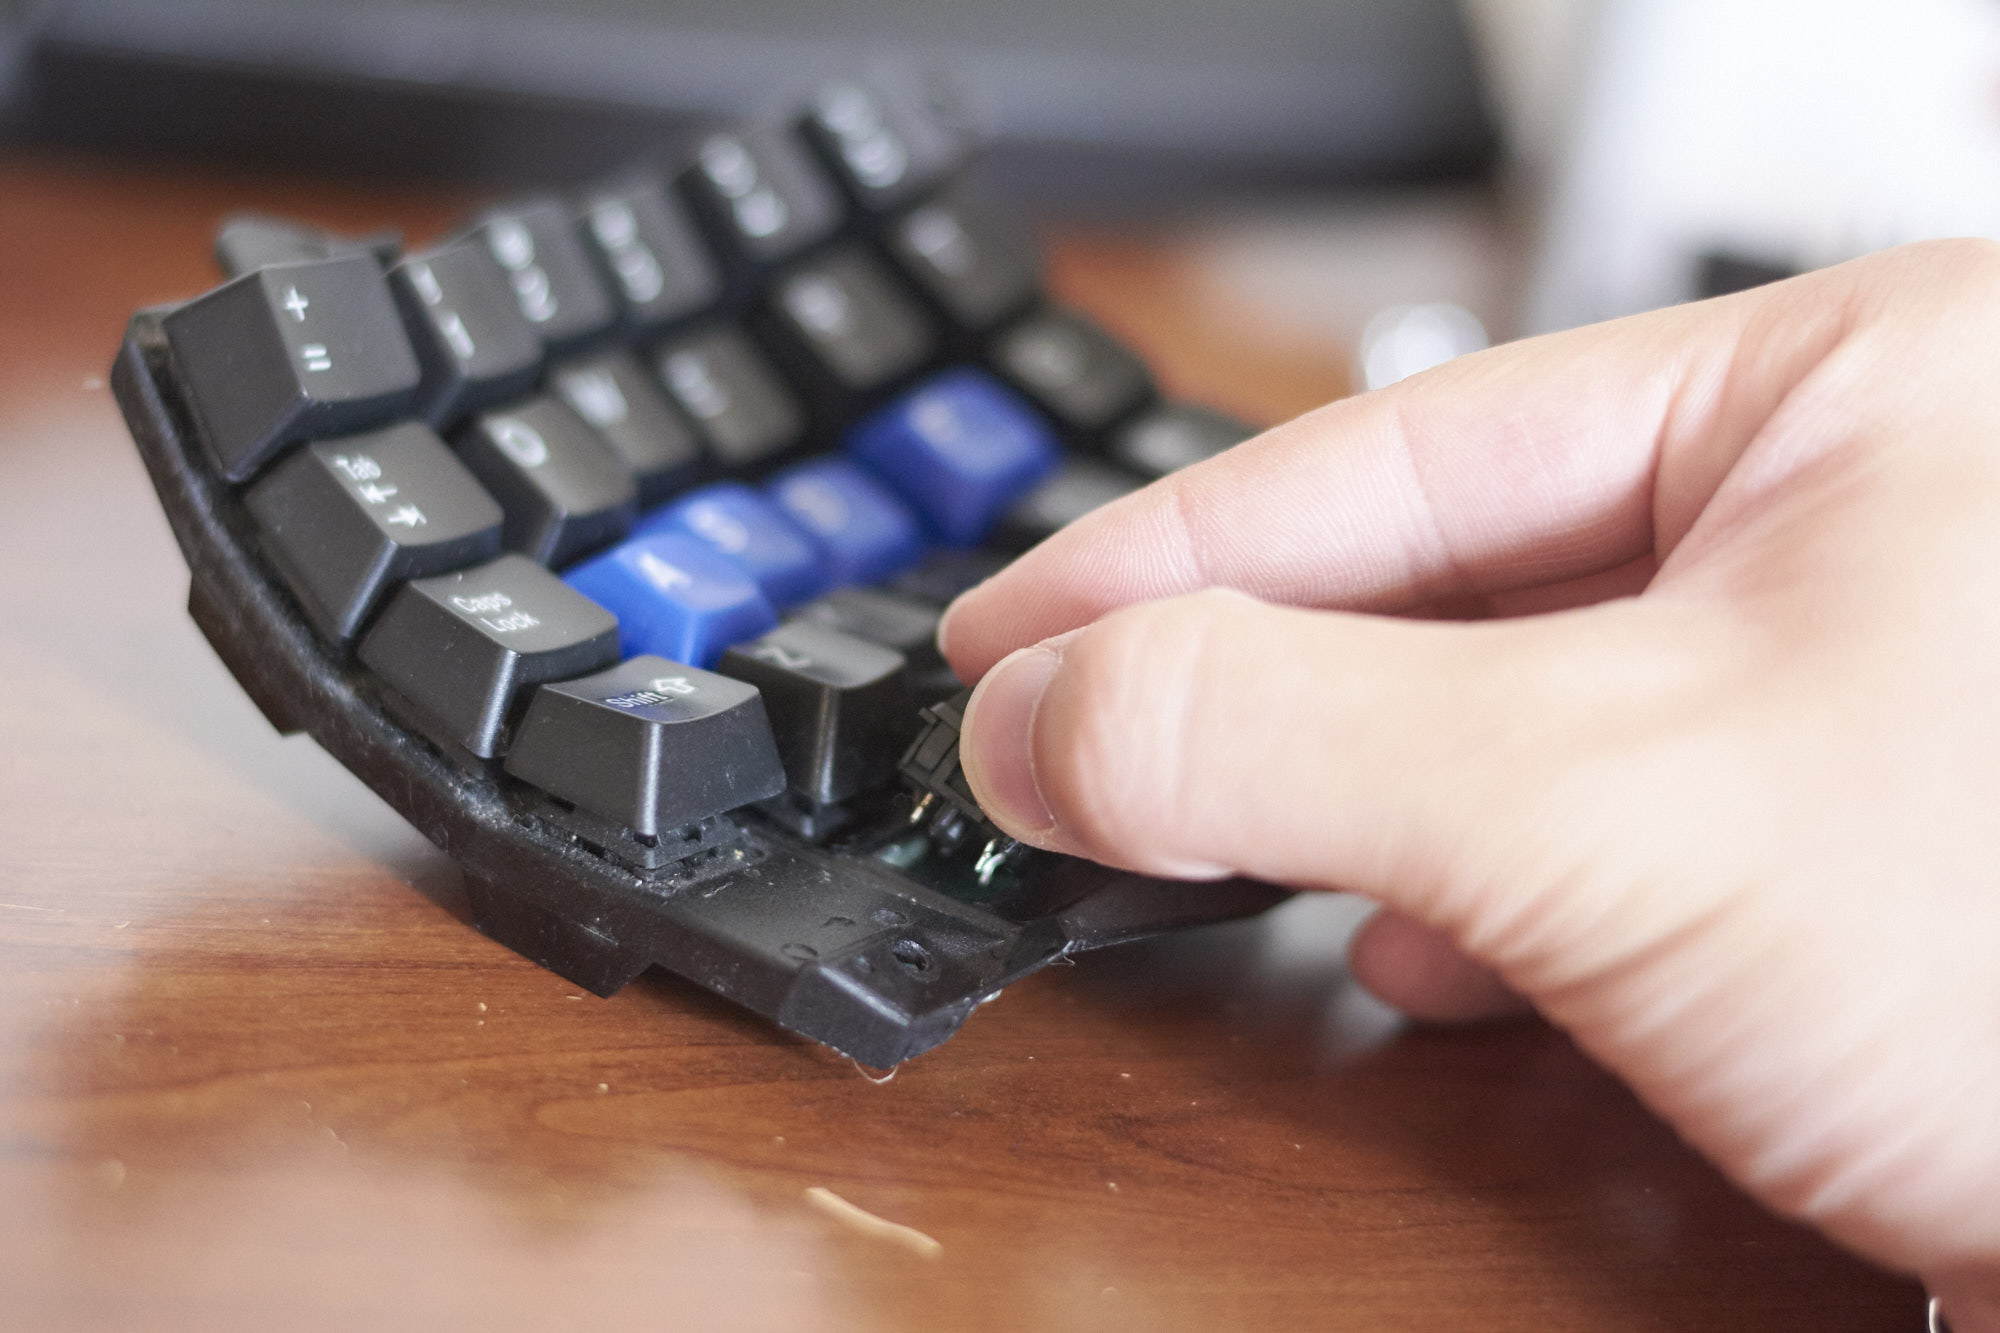
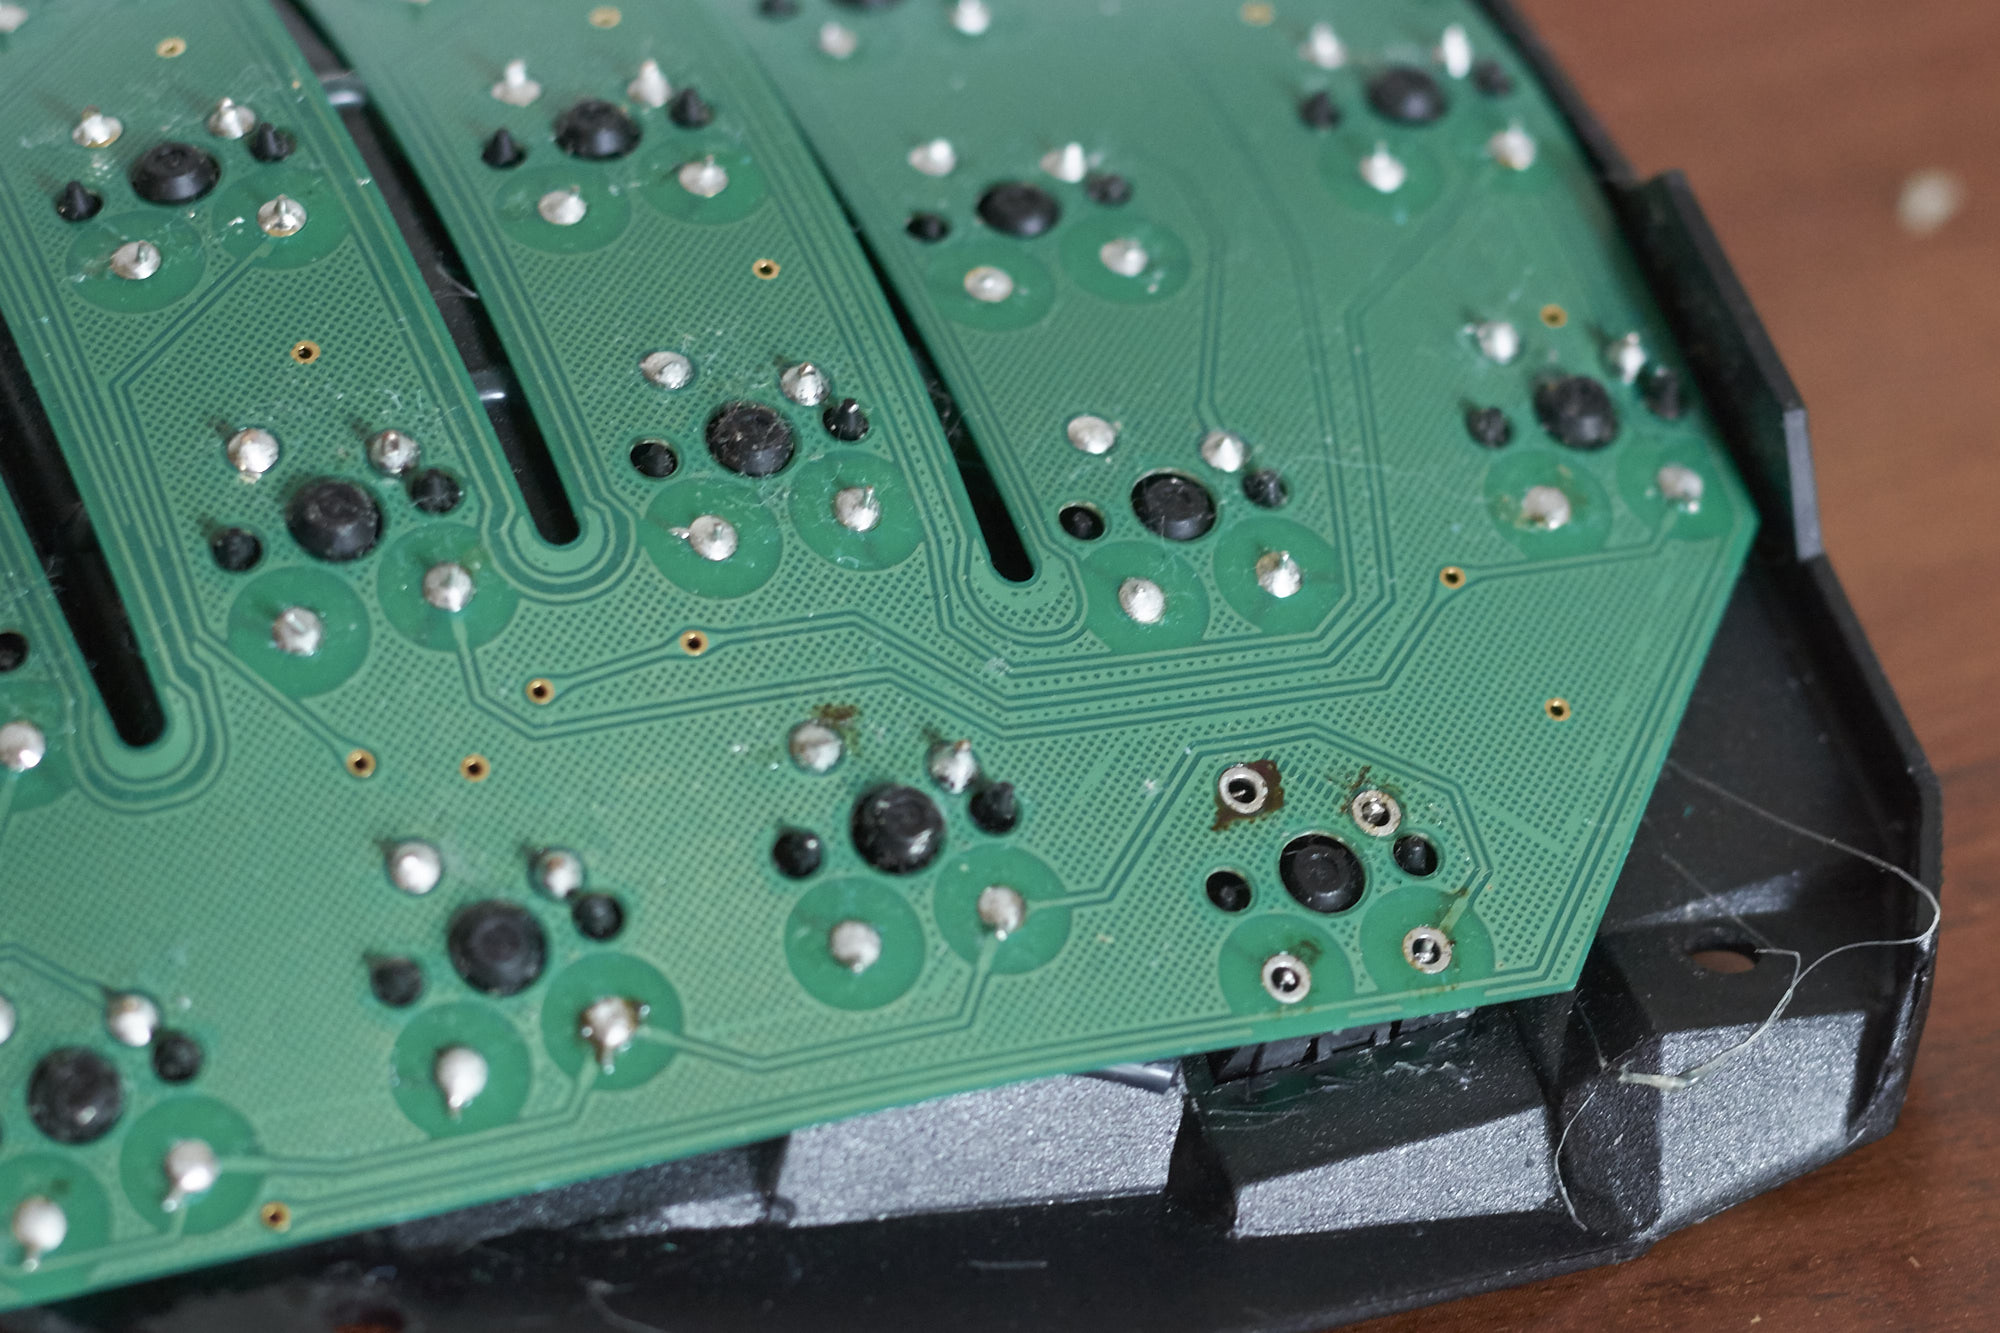
Next, I removed the key well containing the tilde key. The key well’s flexible circuit board is attached to the main circuit board with a detachable flex cable.
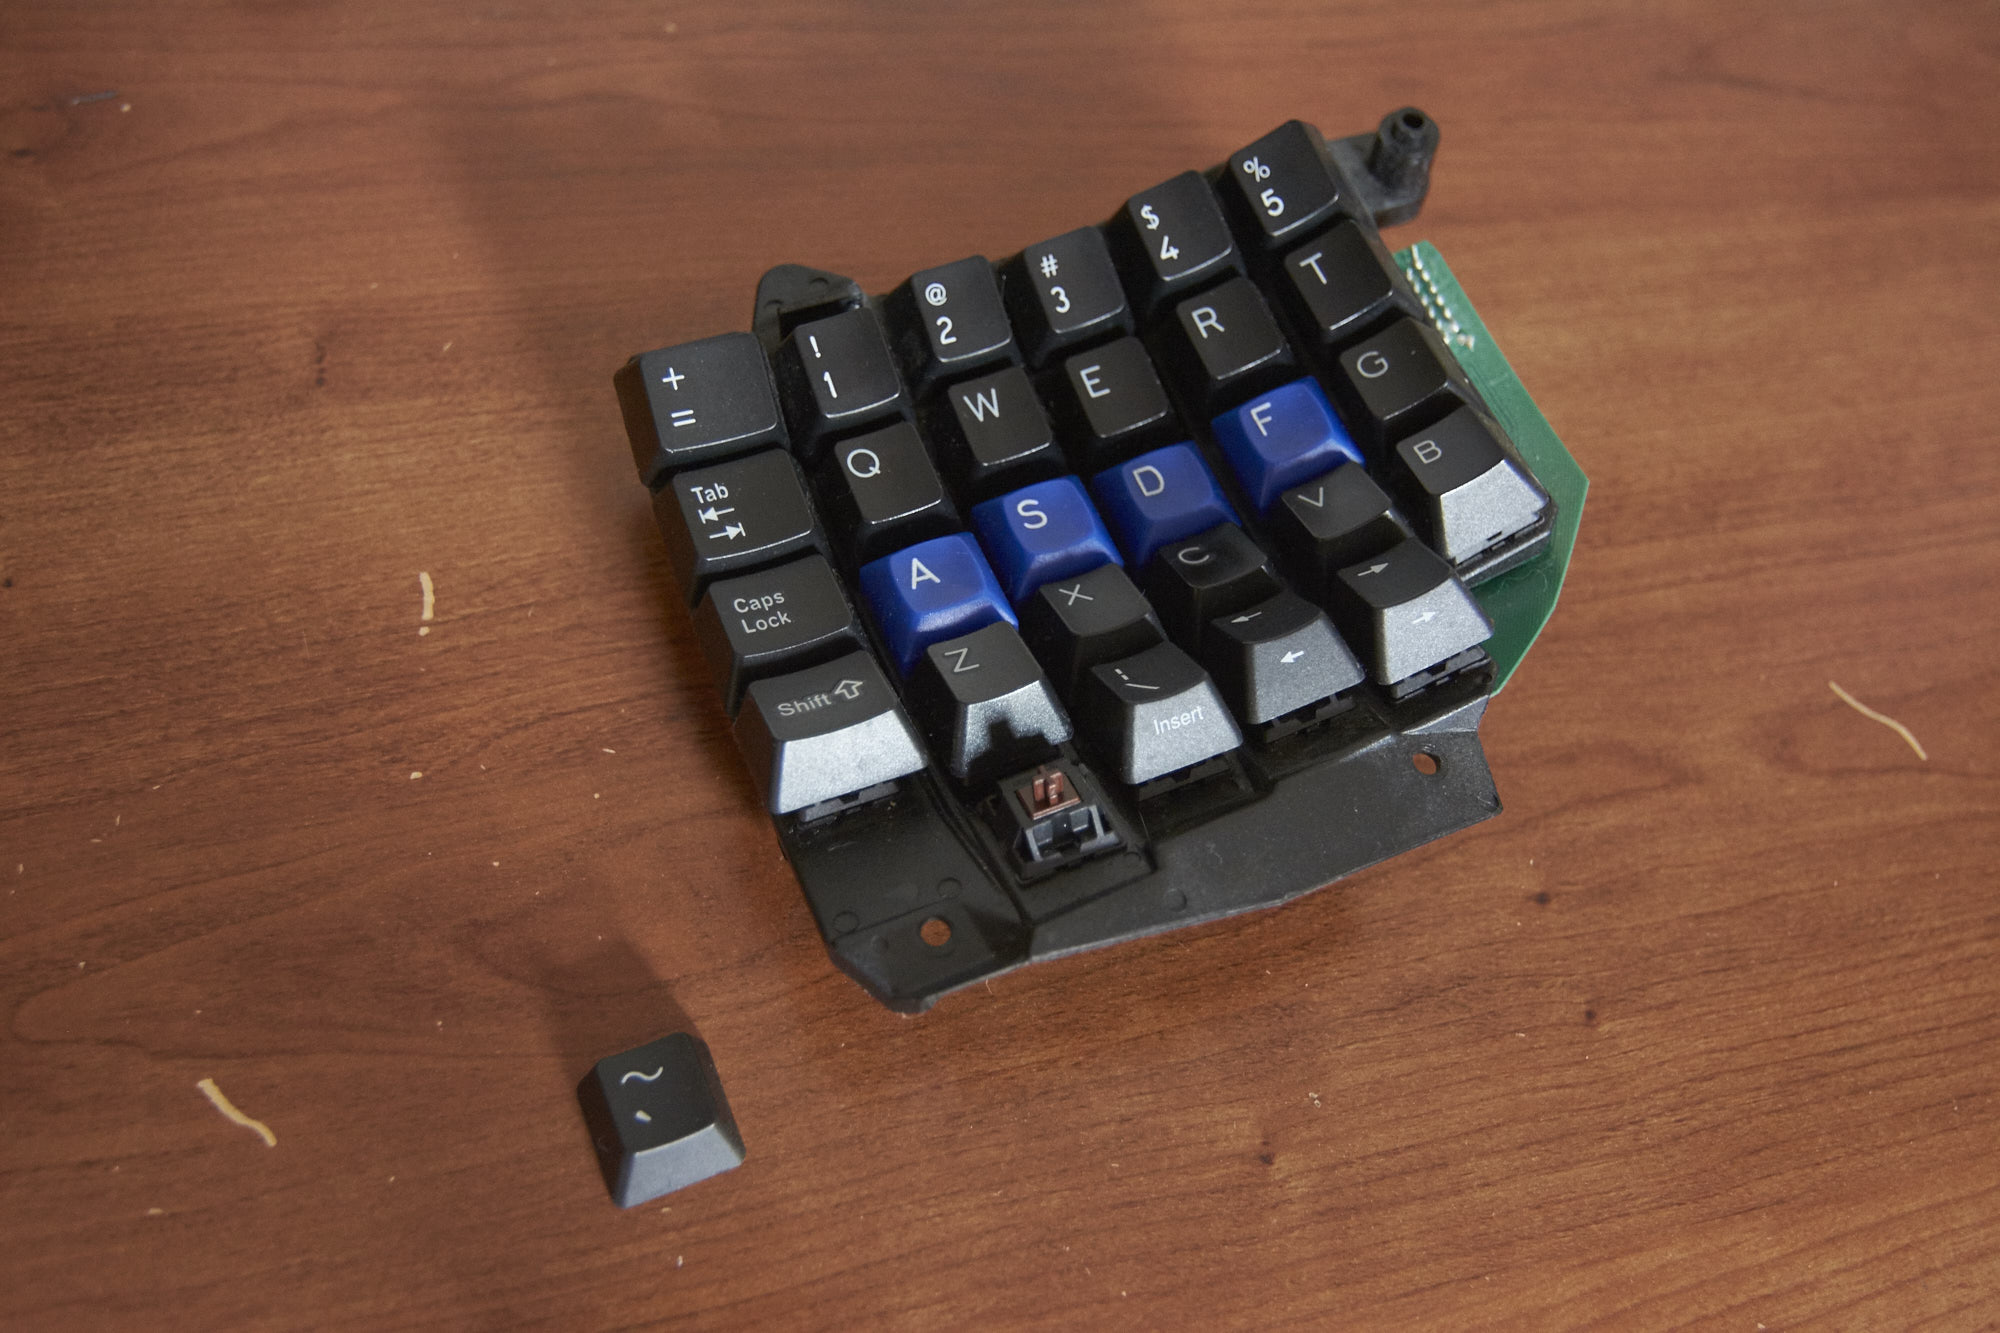
I removed the tilde keycap using two paperclips, although a proper keycap remover would have been nicer.
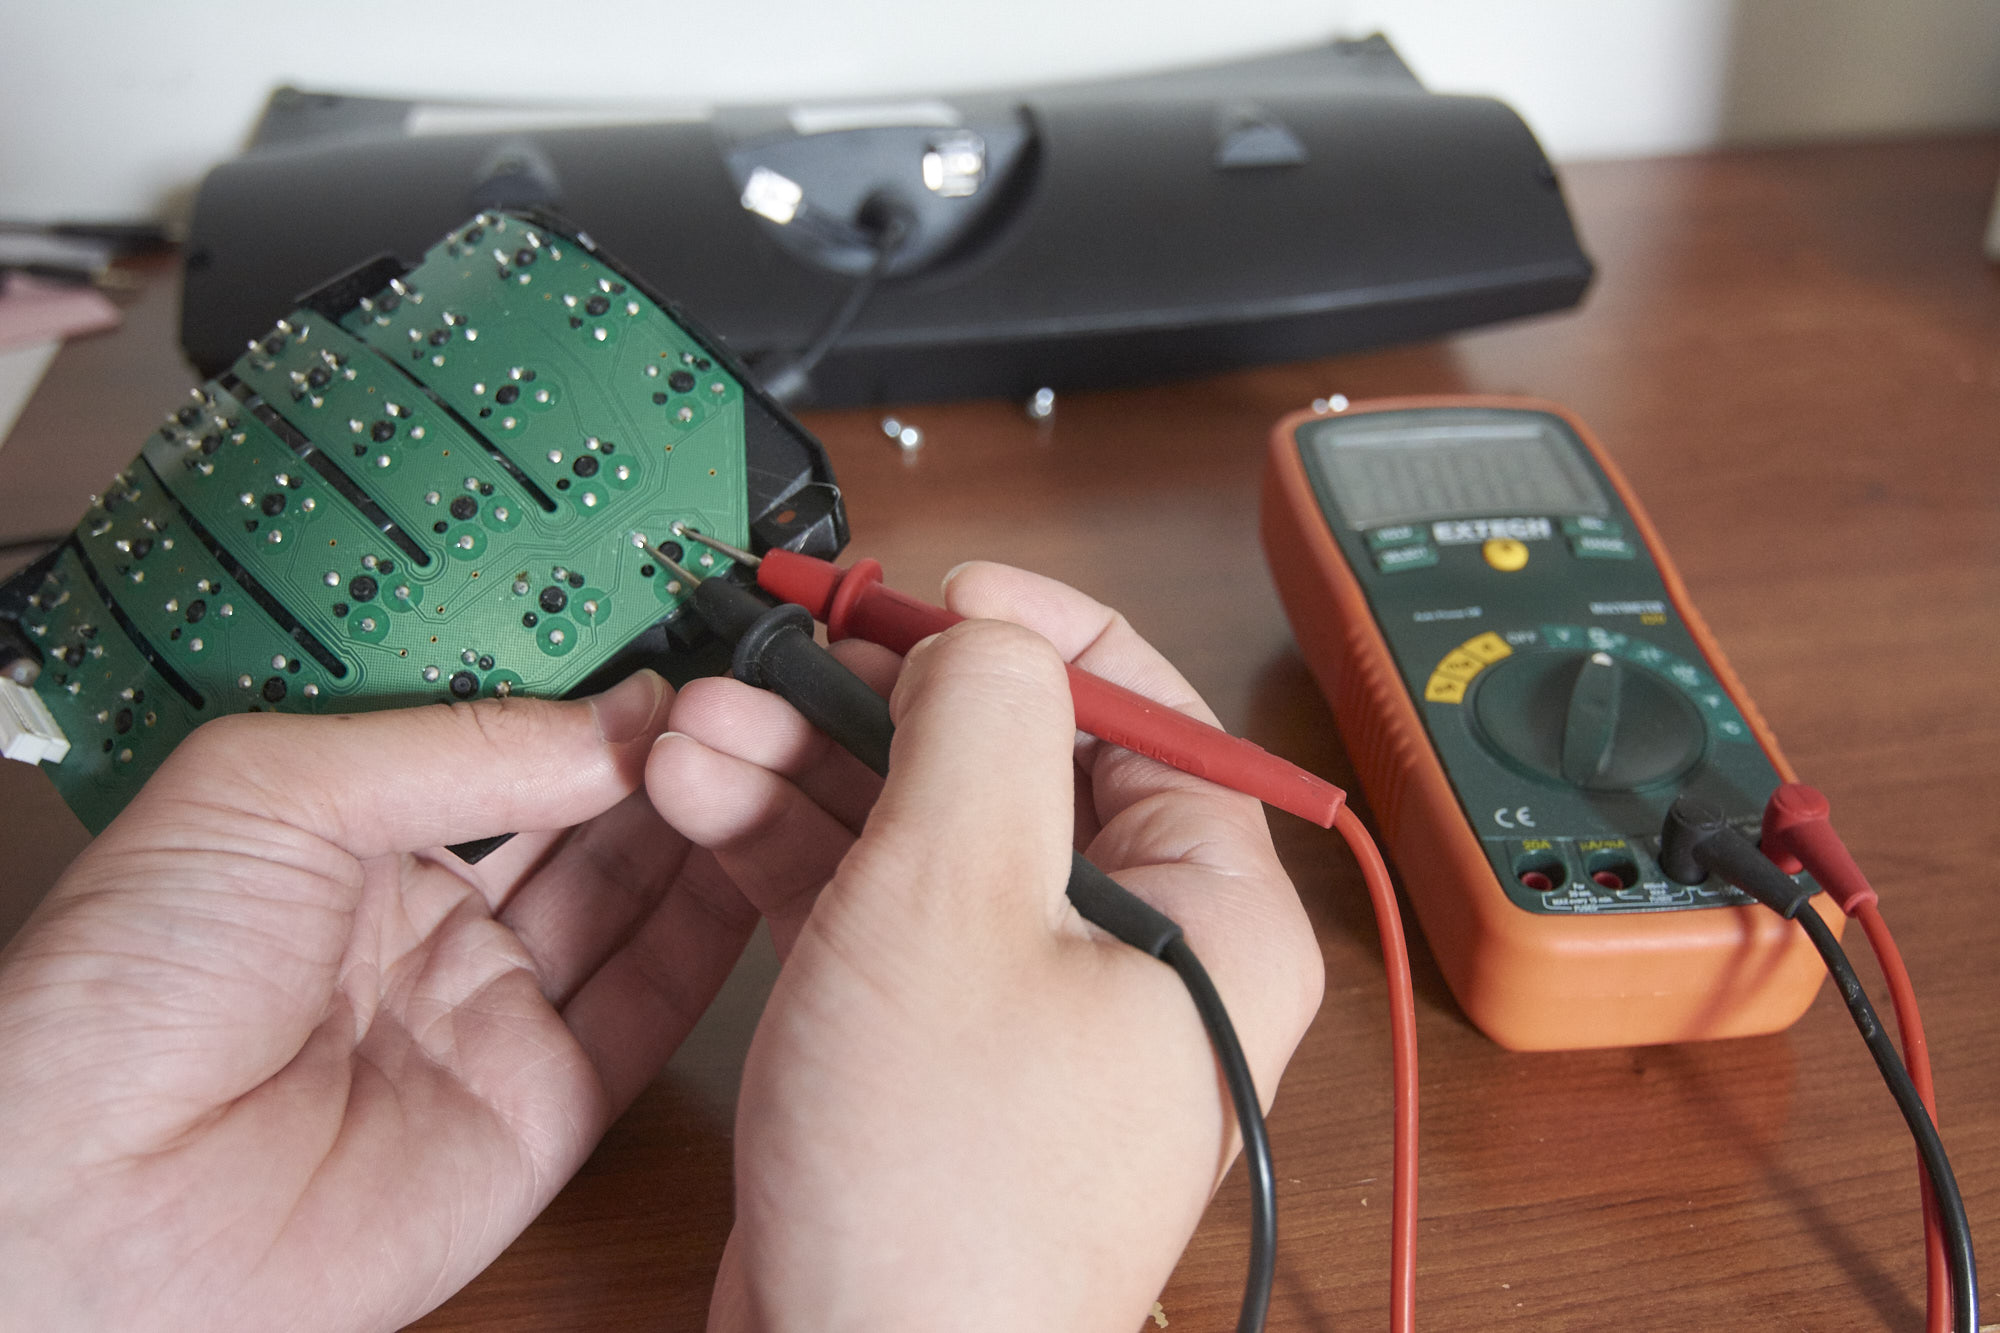
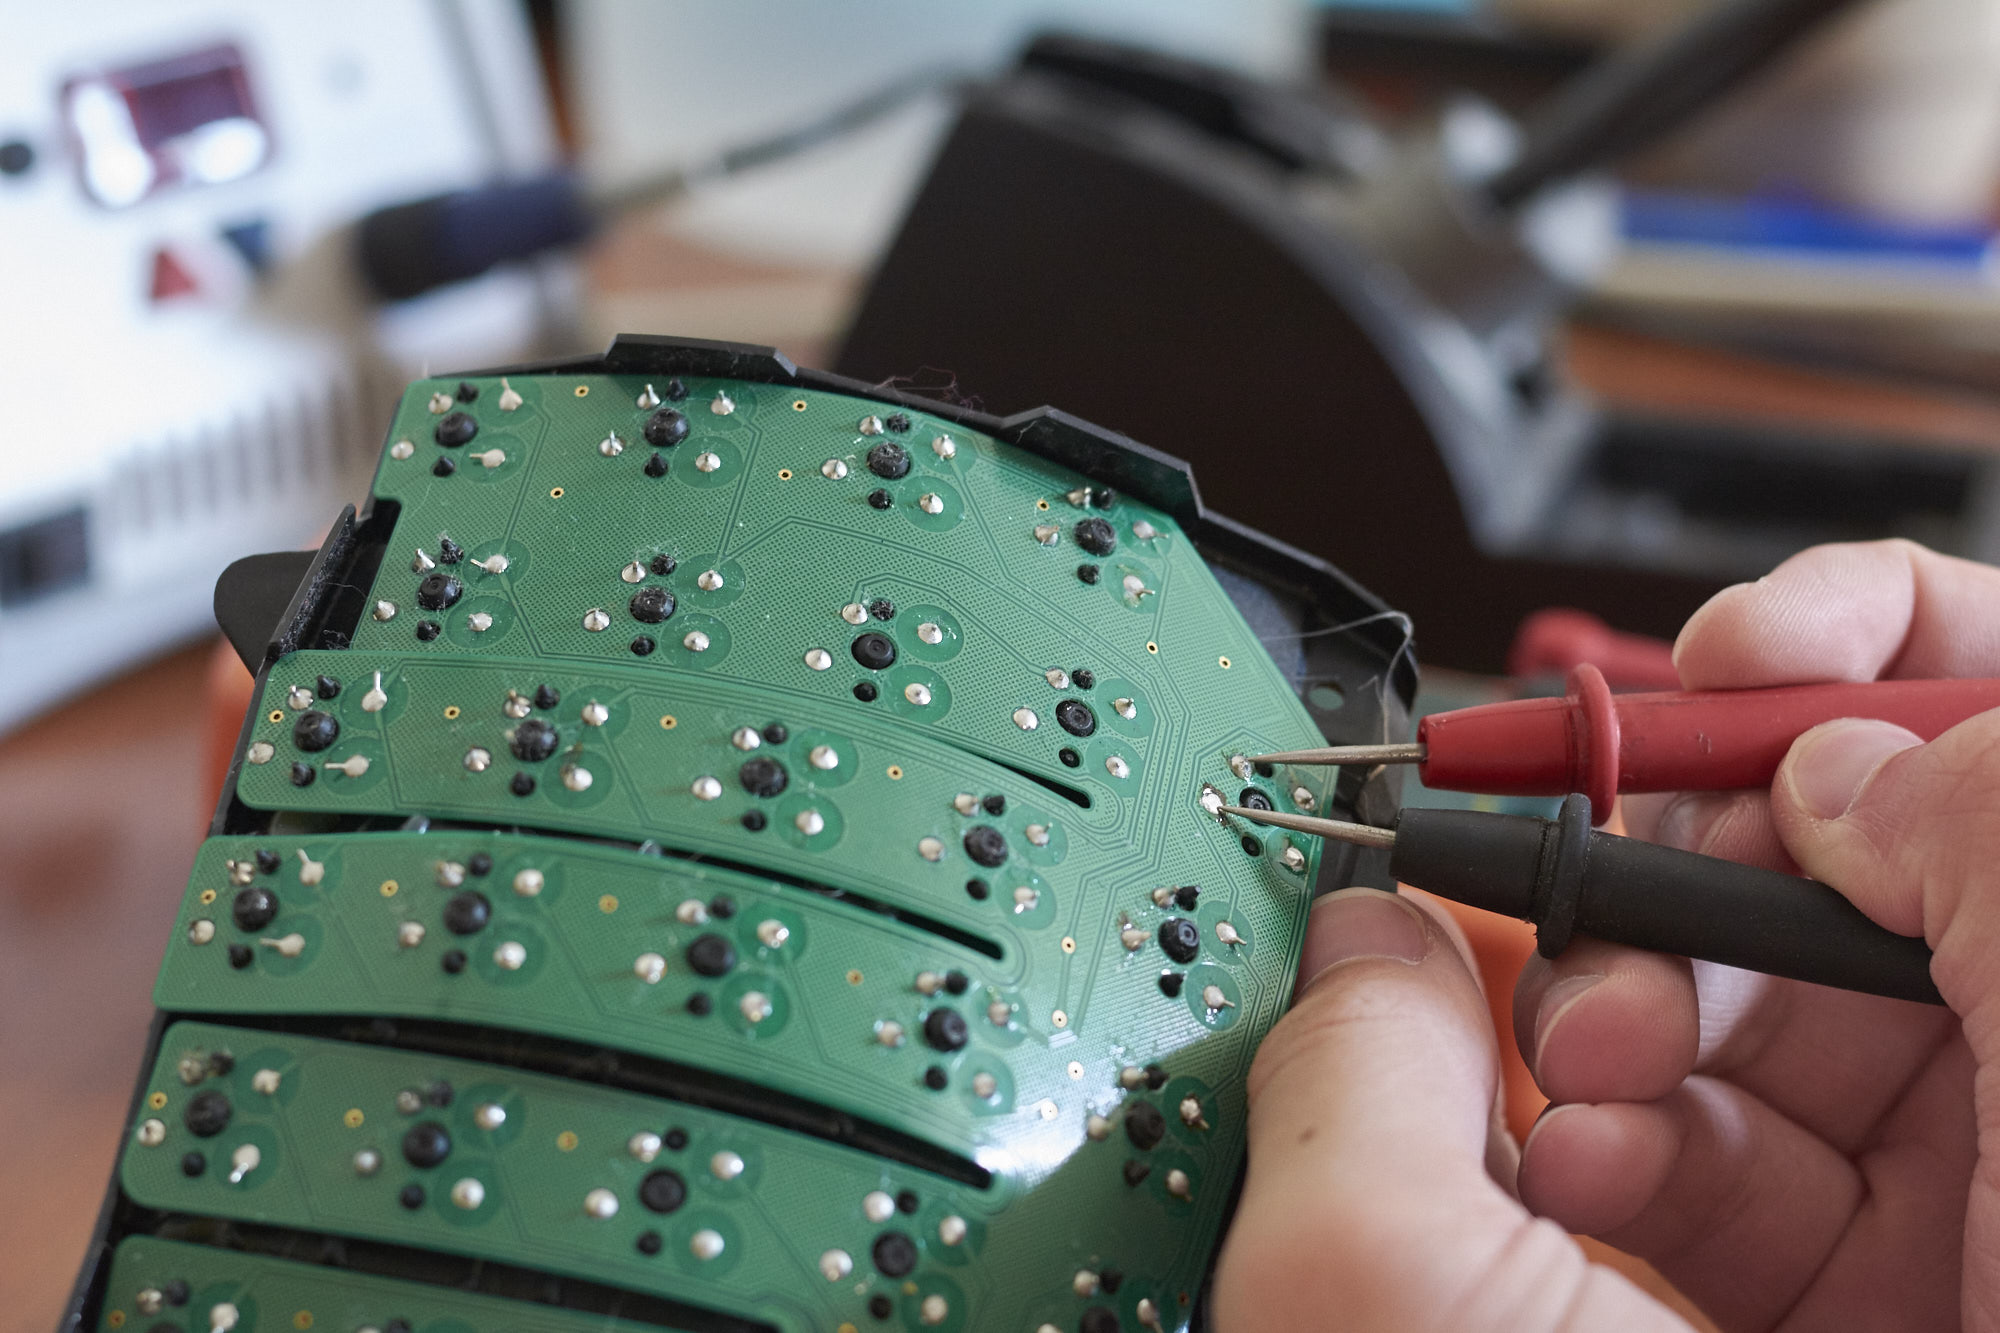
I wanted to make sure that the problem was indeed a bad switch before I touched the soldering iron (as opposed to some issue with the PCB or microcontroller or something). I used my multimeter to test continuity between the top two pins of the switch, as shown in the picture below; the pins should have continuity when the switch is depressed. The problem seemed to be with the switch, so I proceeded. (I also used the multimeter to test the diode across the lower two pins, which tested fine.)
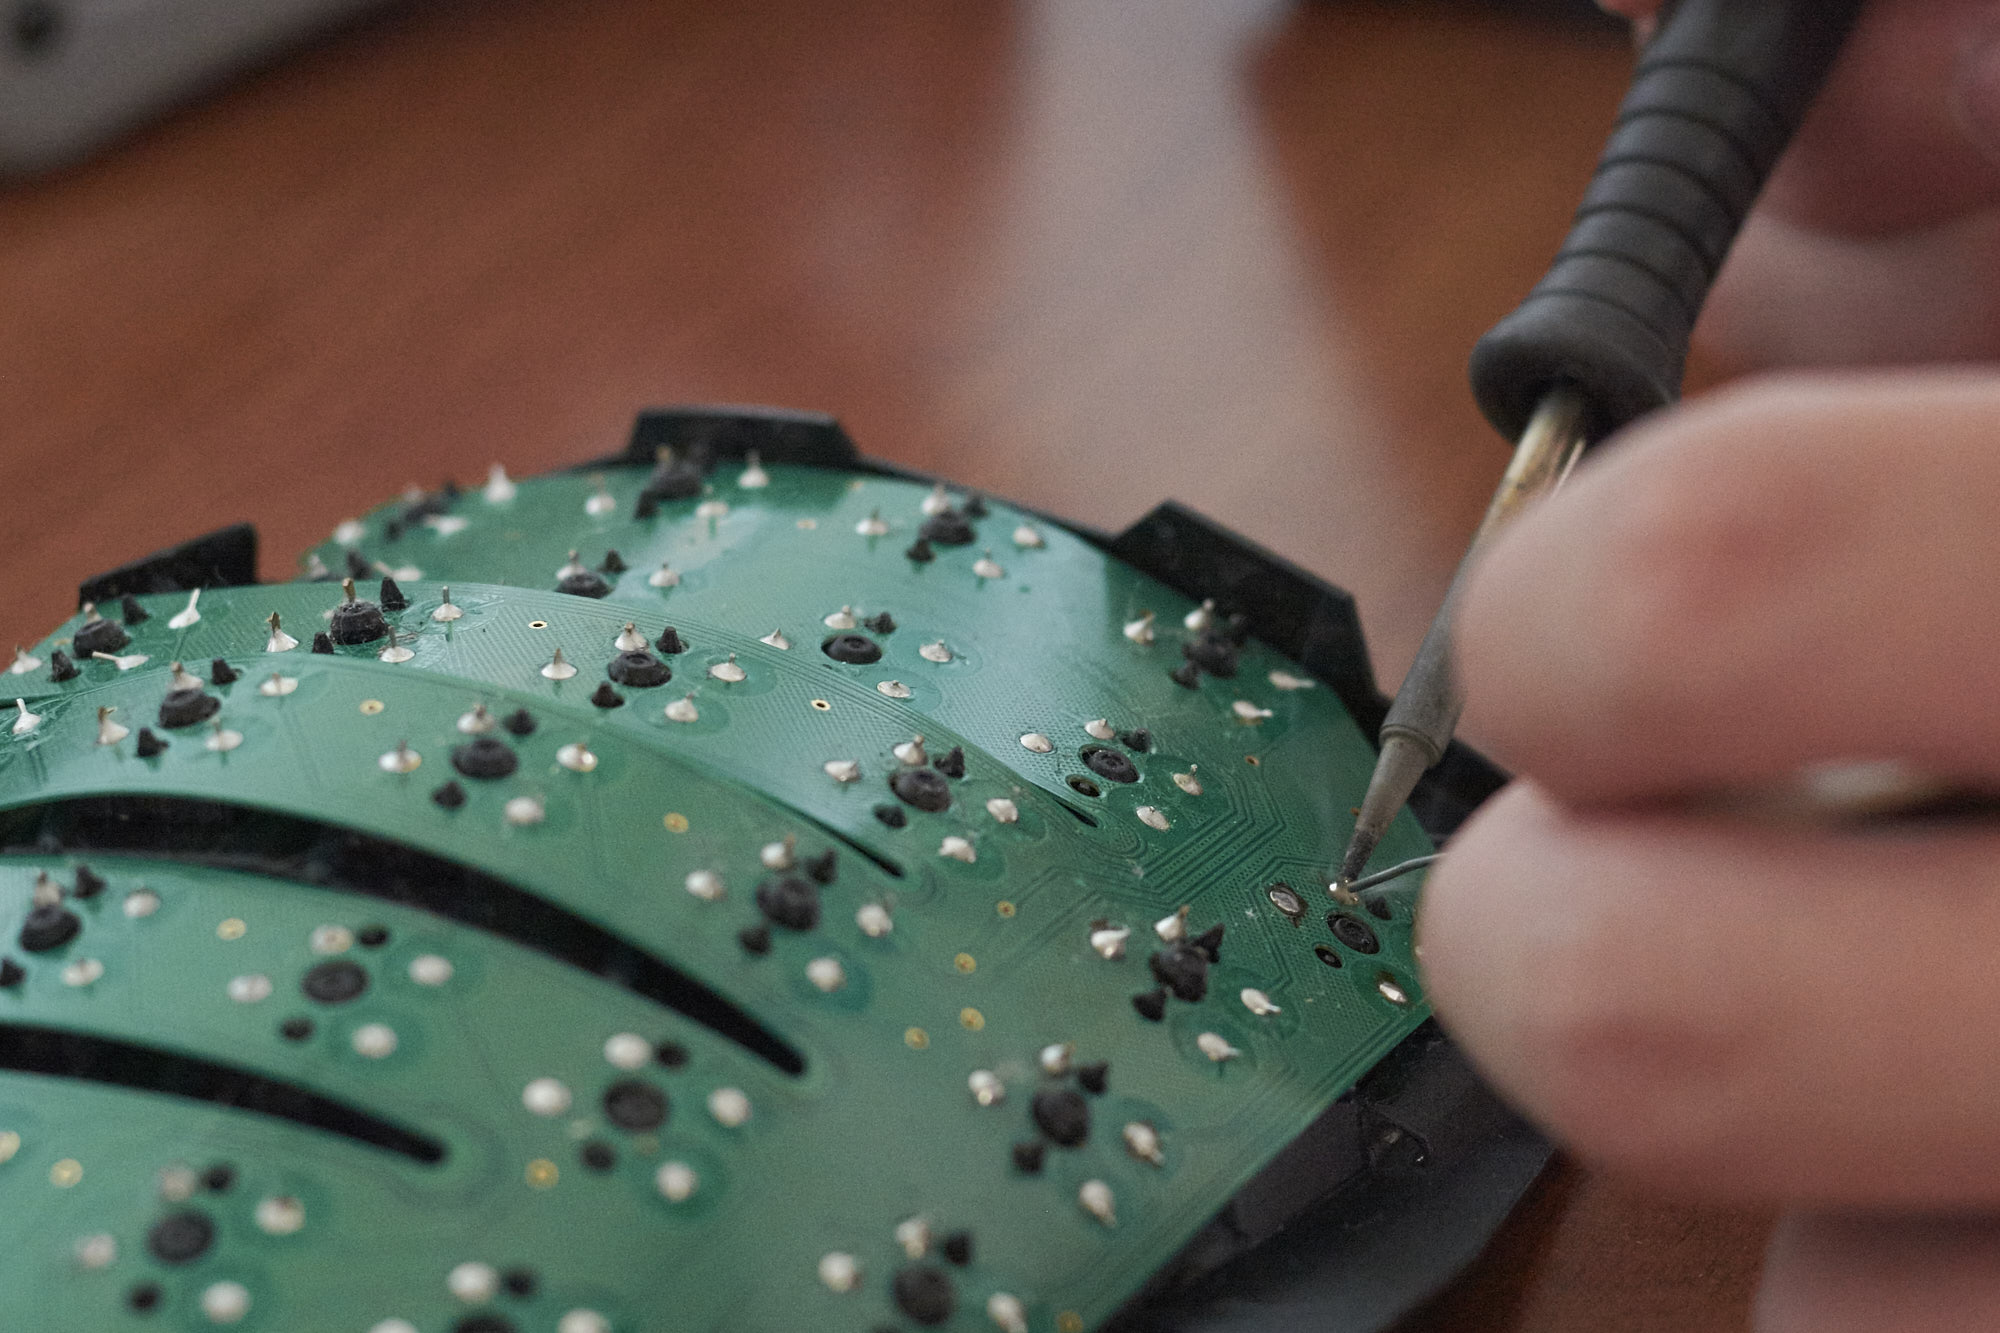
I desoldered the switch with solder wick:
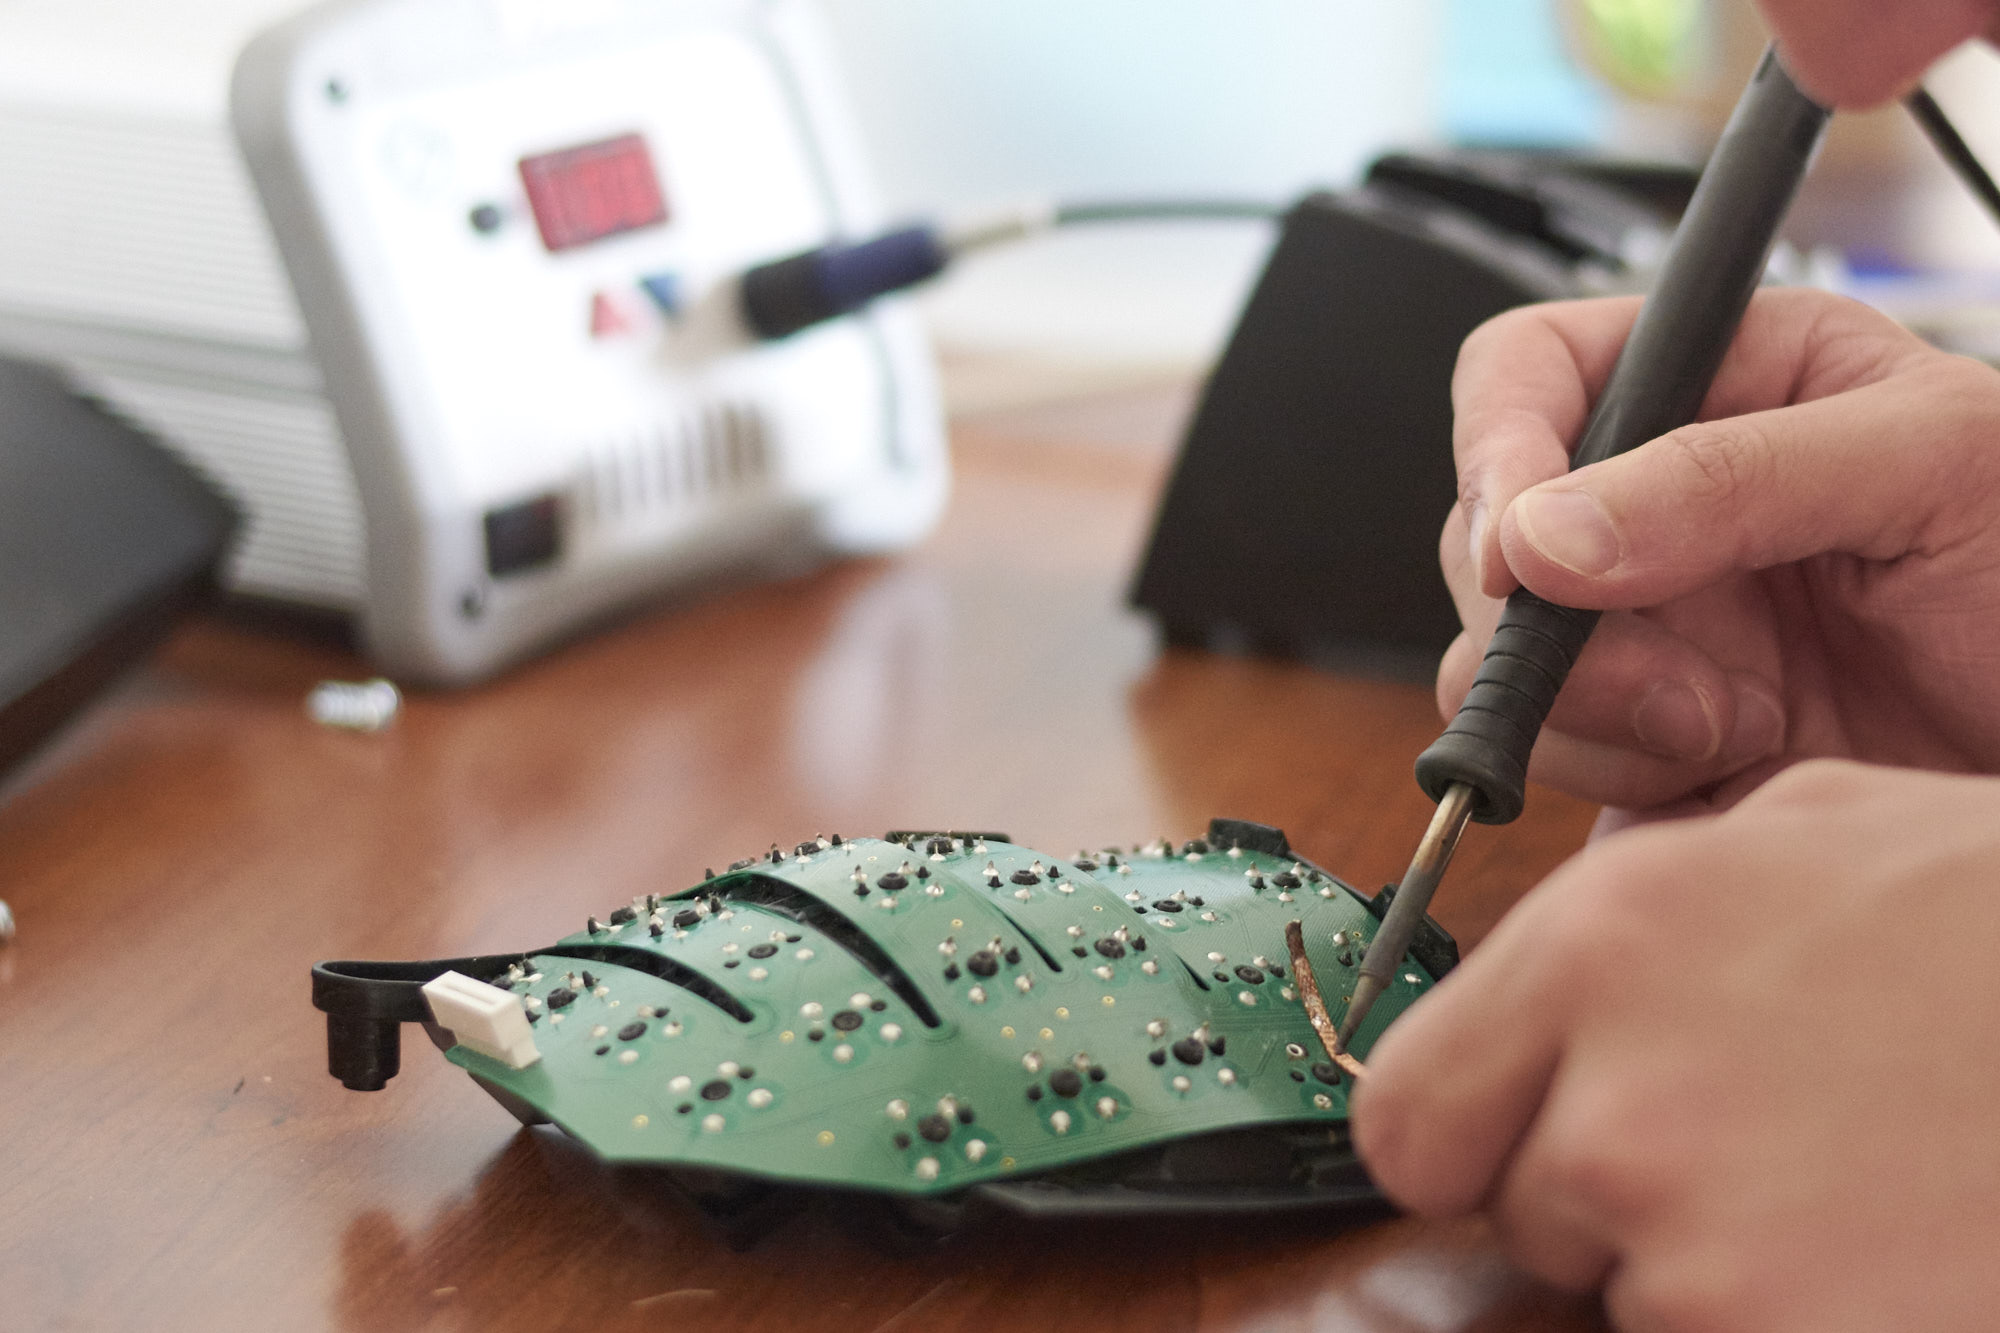
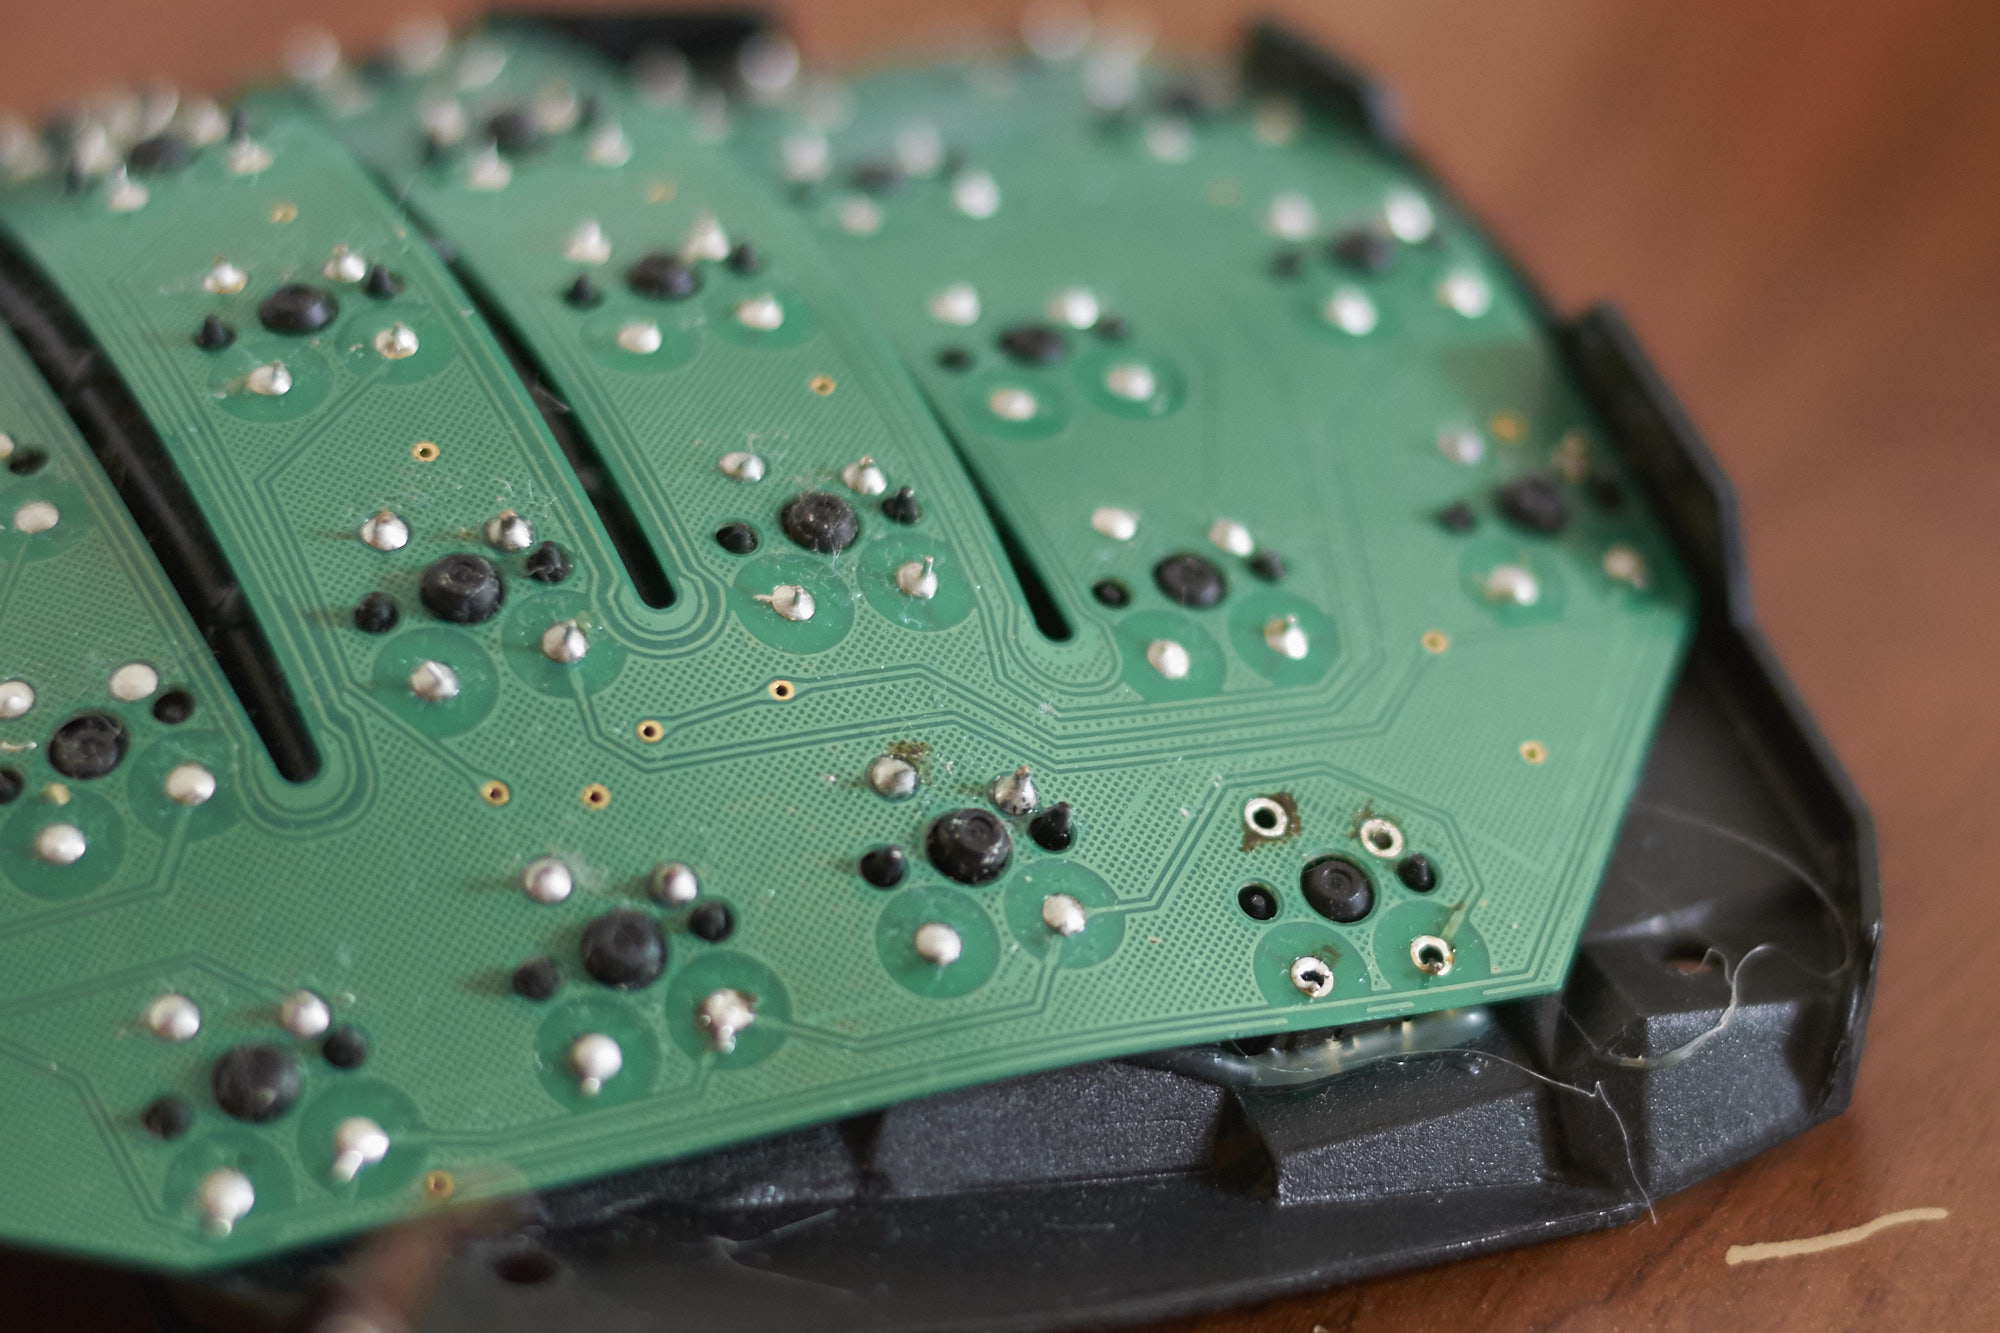
You might notice that in the above picture, the top left hole has no pin sticking out. That turned out to be the problem.
In order to remove the switch, I needed to peel off the hot glue attaching it to the key well. This wasn’t bad – I just used a small flat-head screwdriver – but I’m not sure how I would have done it if it was, say, the “a” key instead, as that would have been much harder to access. (It’s entirely possible, though, that there actually isn’t any hot glue on the “a” key. This seems like it was assembled by hand, and it probably would have been difficult for the assemblers to glue the key.)
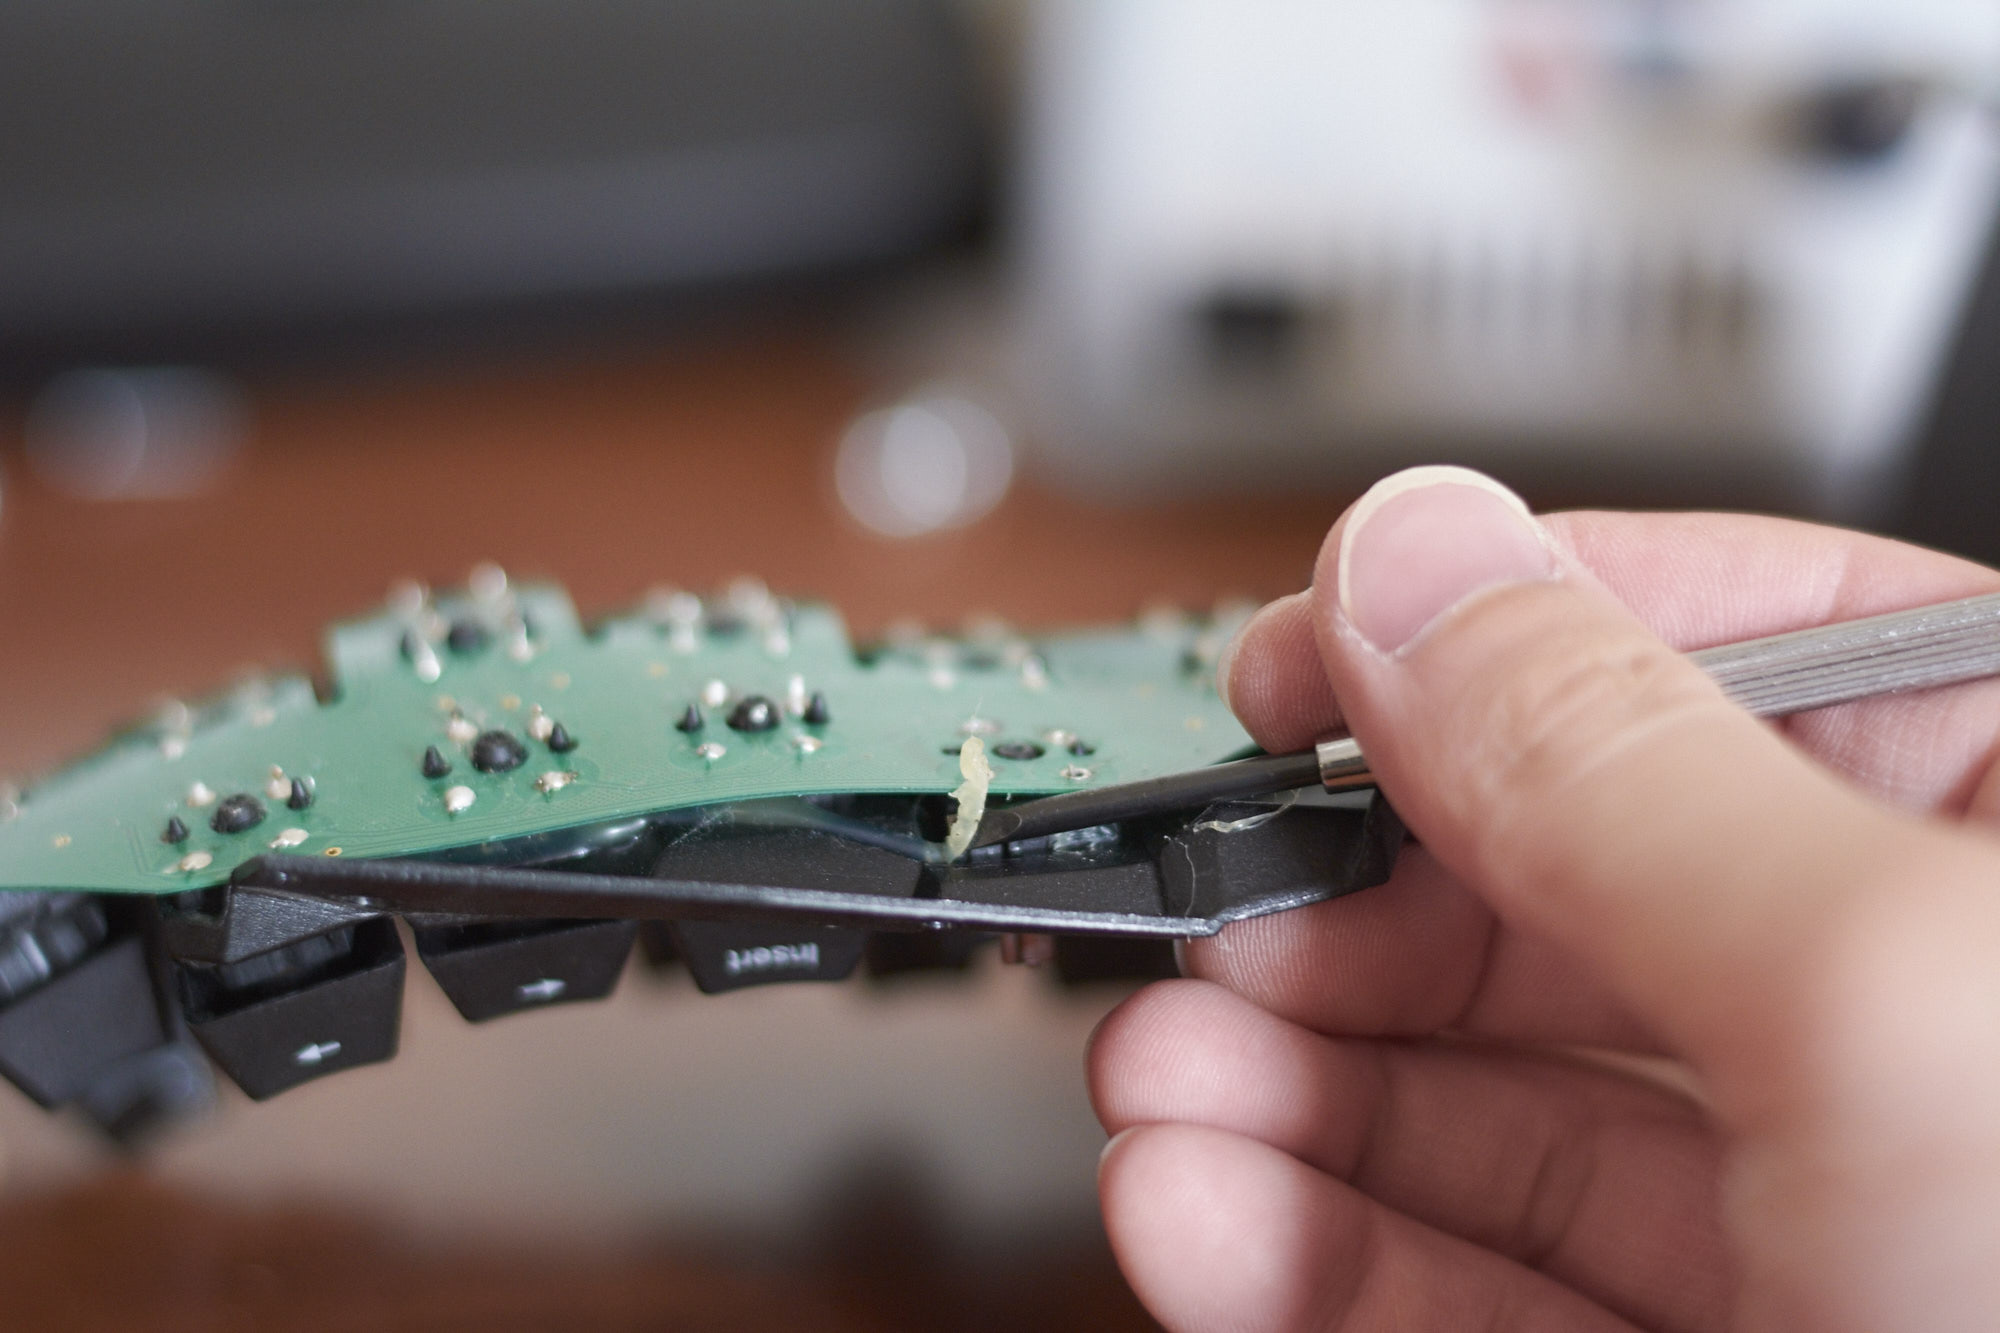
Once the hot glue was removed from the switch, I wiggled the switch around from the top and then pried it off with my fingernail.
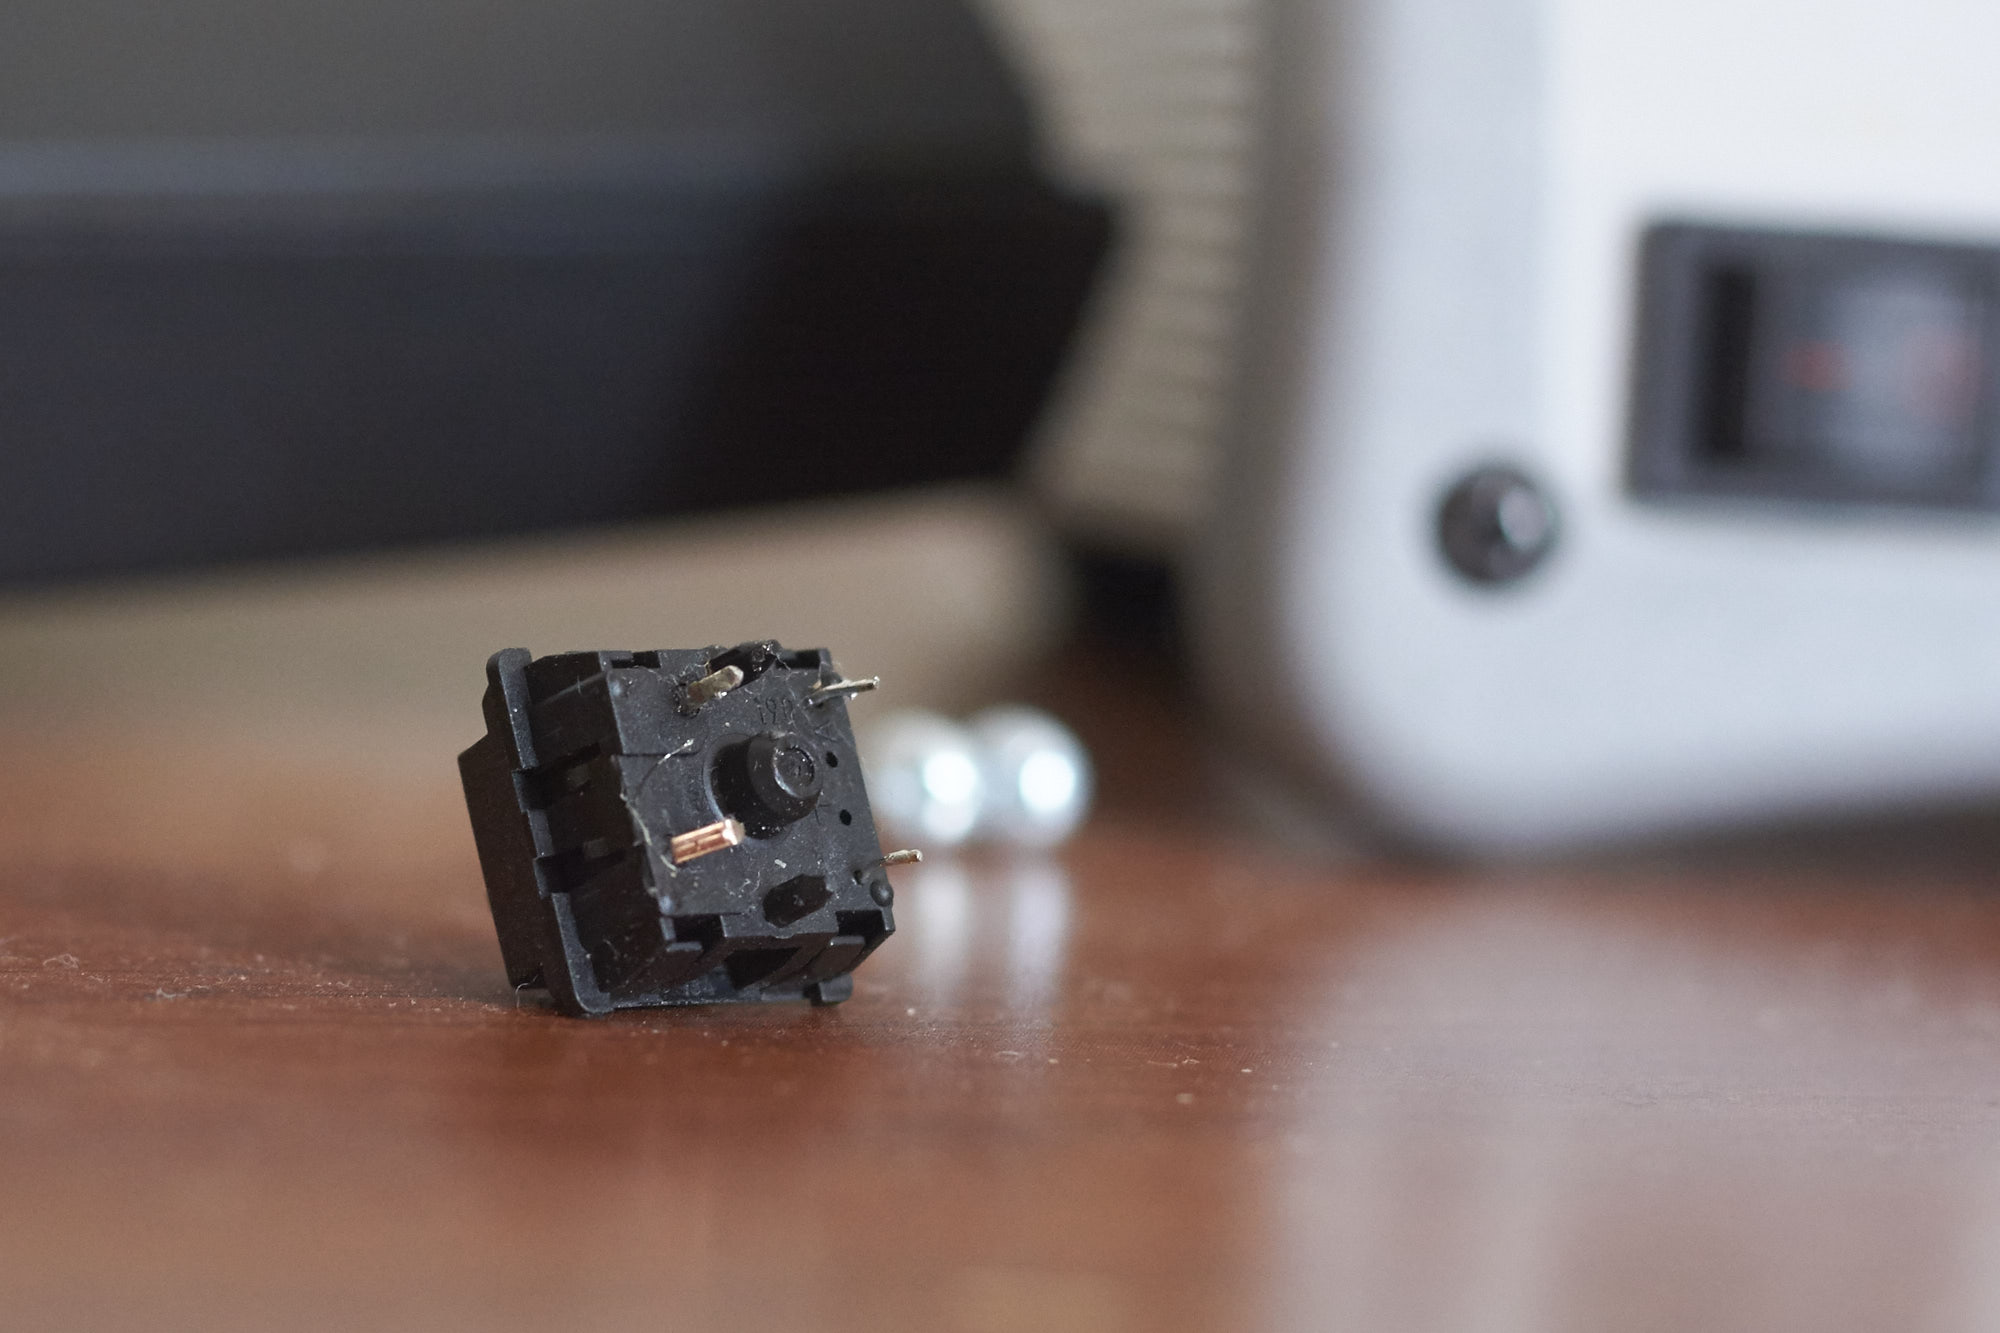
Once the switch was out, I could see what the issue was. The switch itself wasn’t broken, but one of the leads was bent and had no solder on it. I’m not sure how this ever worked, but the EBay seller says it did work before shipping, so maybe this bent lead was pressing up against the solder pad but not making great contact, and then some physical shock moved it a hair and disturbed the contact.
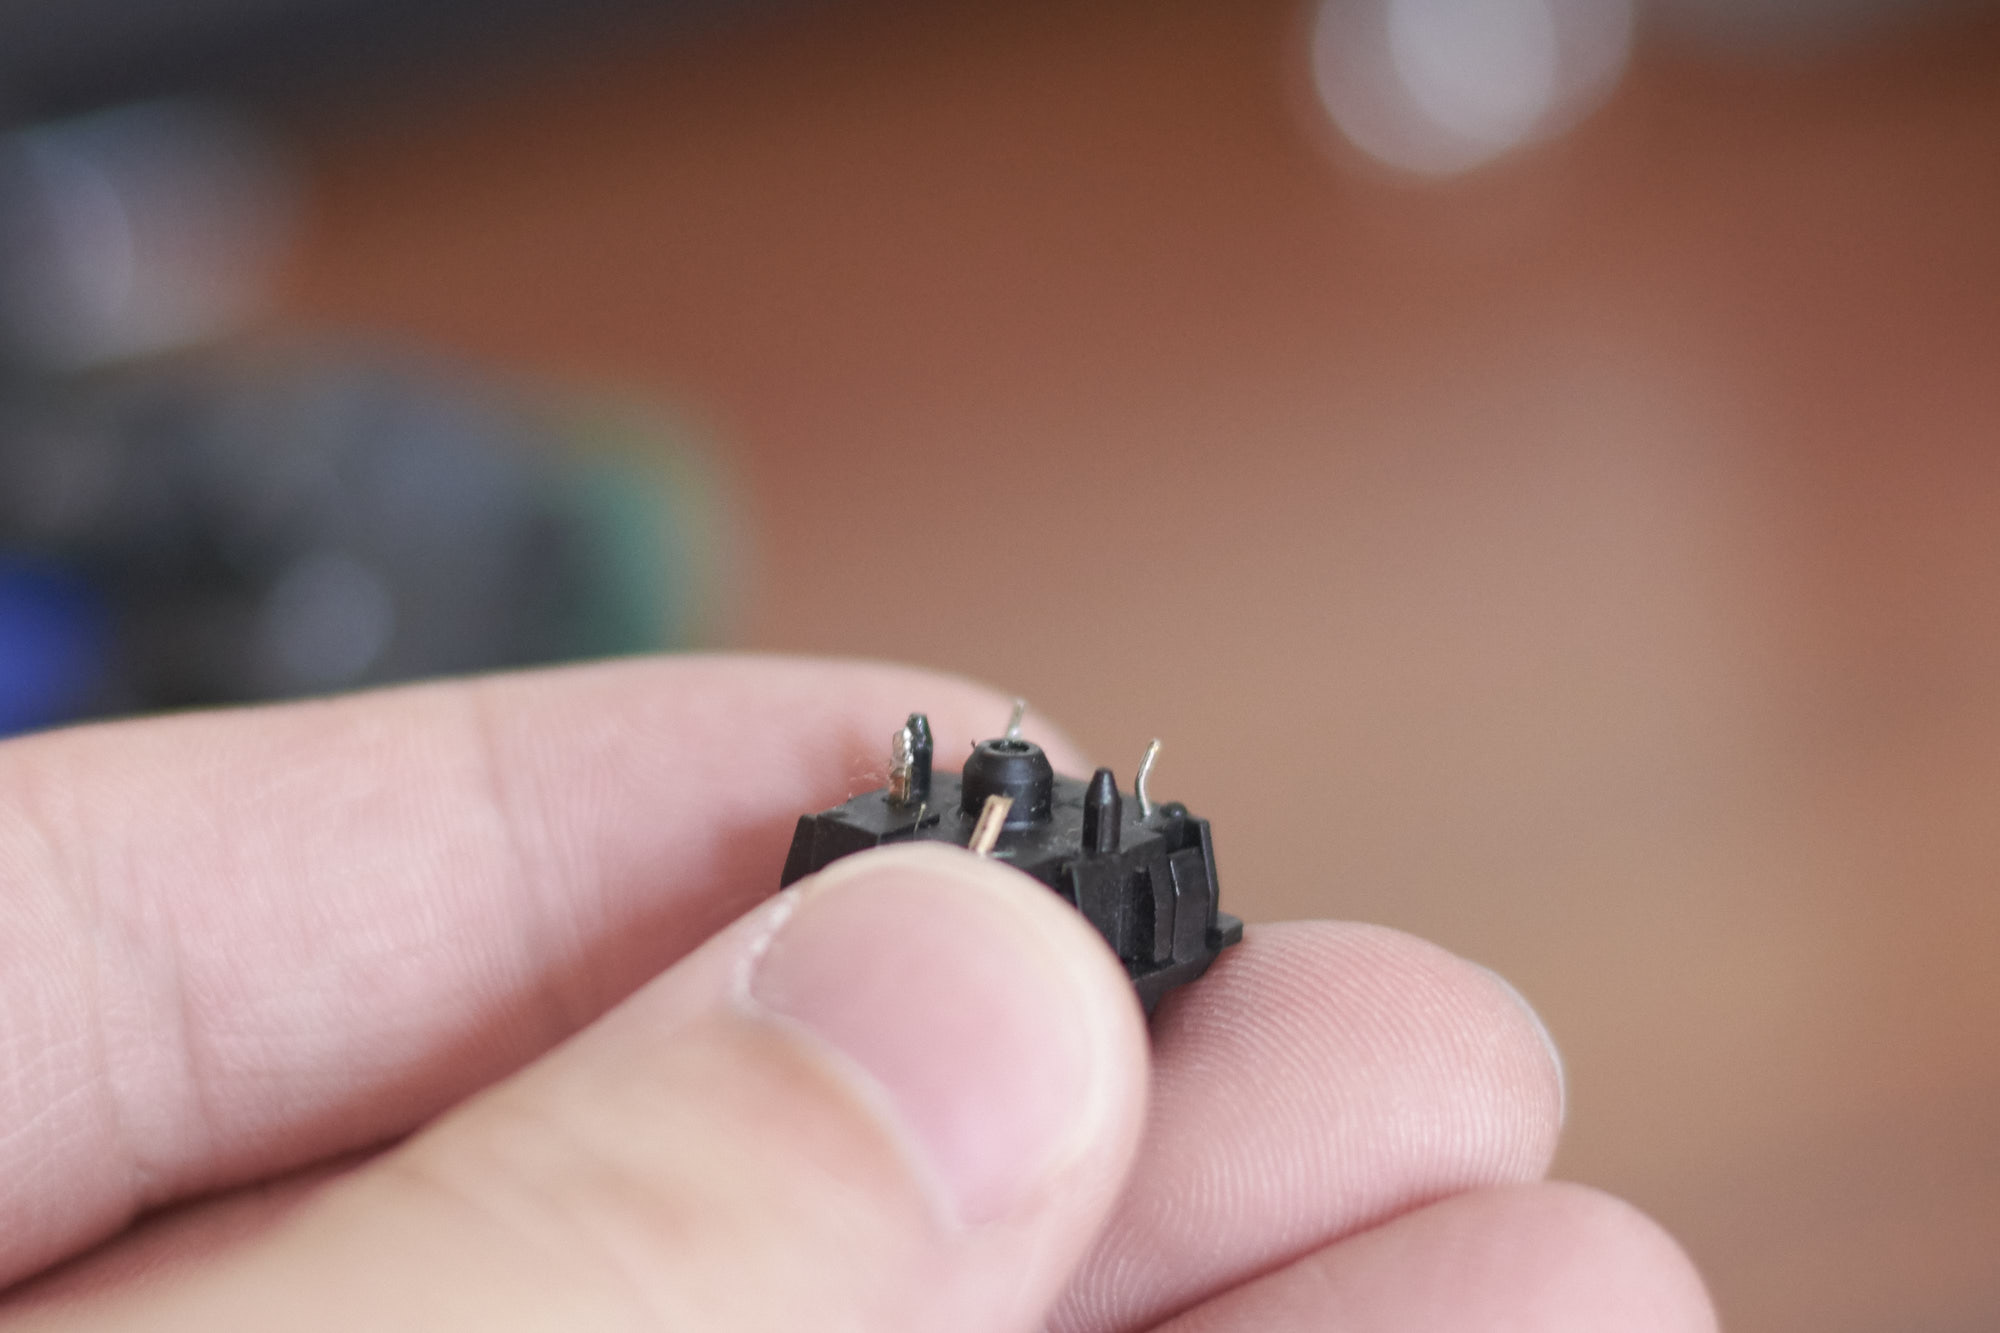
I bent the lead so it was straight again and put the switch back into the key well. (I didn’t even need to use the switches Kinesis kindly sent me!) The previously-bent lead is now visible through the hole.
Then I soldered everything back into place and tested the switch again using the multimeter.
It works! Voila!
Thoughts
The Kinesis Advantage is actually surprisingly easy to repair. Besides the hot glue, everything is easy to take apart and put back together without any permanent changes (e.g. no seals to break or tape to remove). Even the electronics look simple; the USB board has some surface-mount components, but it looks like the main controller board is all through-hole components that would be easy to replace.
Kinesis Support has also been amazing. Seems to be one guy running it, but he responds quickly and is very helpful. I wouldn’t expect any company to send me parts for an out-of-warranty product and give me instructions for repairing something myself, but that’s what they’ve done.
I'm Ryan, and I would love to hear from you. Send me an email or leave a comment below!

Interested in reading more articles like this one? Join my mailing list and I'll email you when I publish a new post! I typically post less than once a month.